In this tutorial, the landscape lighting experts at VOLT® demonstrate how to install well lights. These recessed uplighting fixtures are great for illuminating architecture, and this is an easy do-it-yourself project for most homeowners.
Tools & supplies needed: Post hole digger, measuring tape, rake, pea gravel, mulch, 4-inch diameter PVC sleeve, torpedo level, garden hoe, dirt tamper, screwdriver, power drill
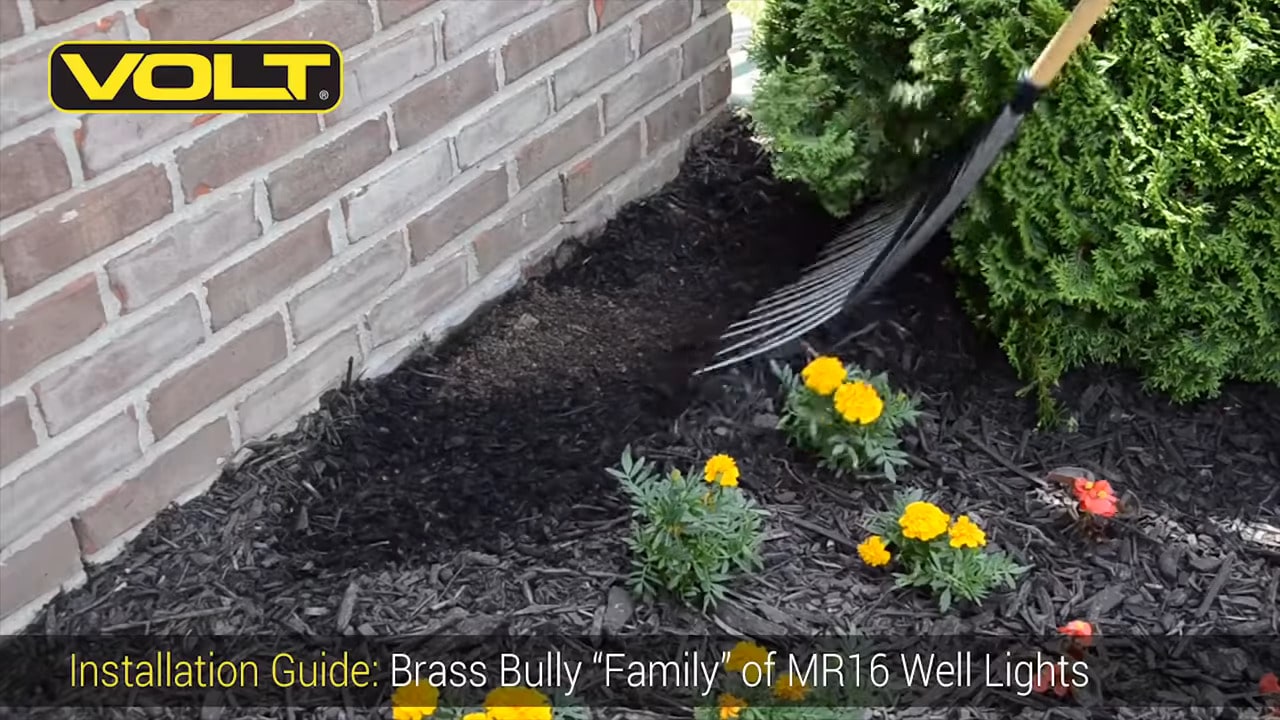
Step 1: Rake back the mulch from the area where the light will be placed. When positioning well lights, plant material can play a factor. However, for best results, try to center the fixture evenly between the outside edge of the wall and a windowsill. Then measure back approximately 12 inches from the wall and place a marker of some kind in the ground. This will be the center of the light fixture.
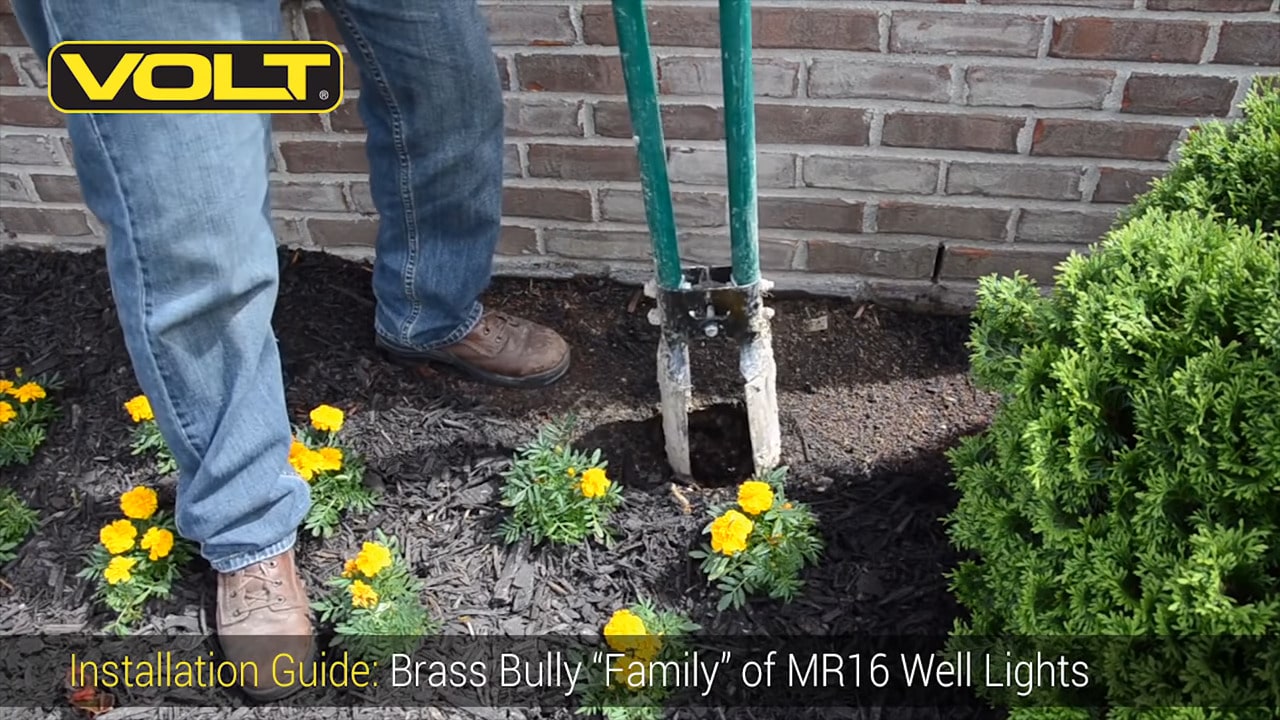
Step 2: Excavate the hole where it’s going to be placed. Using a post hole digger for this makes a cleaner hole and it’s easier to get the dirt out of the bottom. If you’re in an area with heavy clay soil that retains moisture, dig the hole at least 10 to 12 inches deep.

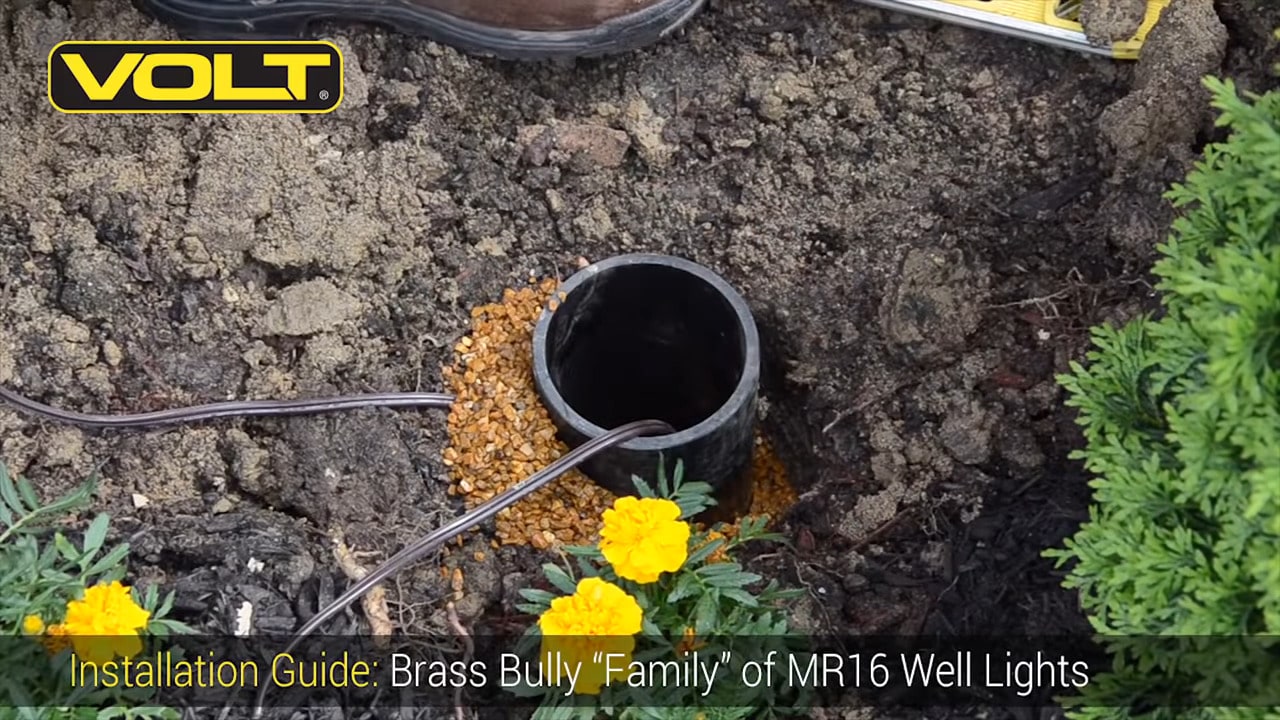
Step 3: Feed the wire through a section of PVC pipe (4-inch outside diameter x 10-12 inches long) and sit the body of the light inside. When this is in the ground, the light will sit flush and steady, and it’ll never get knocked out of position. This 4-inch pipe can be found at any home improvement store or garden center.
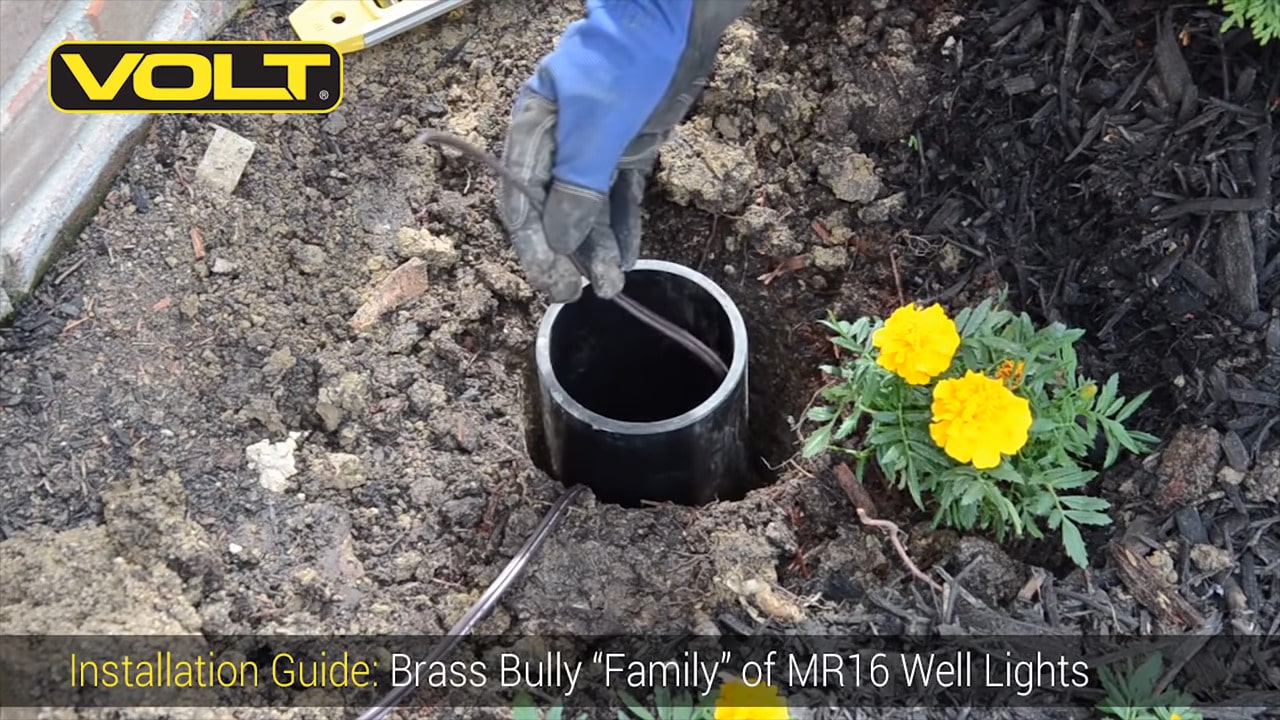
Step 4: With the cable tucked inside the sleeve, place it in the hole. It’s important to make sure that the top of the sleeve pipe is standing a good 3 inches above the surrounding soil, to provide room for mulch.
Step 5: When using recessed in-ground fixtures, try to mitigate water from around the light. Use pea gravel to give the water a place to run off to quickly. Back-fill and pack the pea gravel around the pipe sleeve to stabilize it and to lock it into place. Use a small torpedo level to roughly level the sleeve pipe in place. It doesn’t need to be perfect at this point.
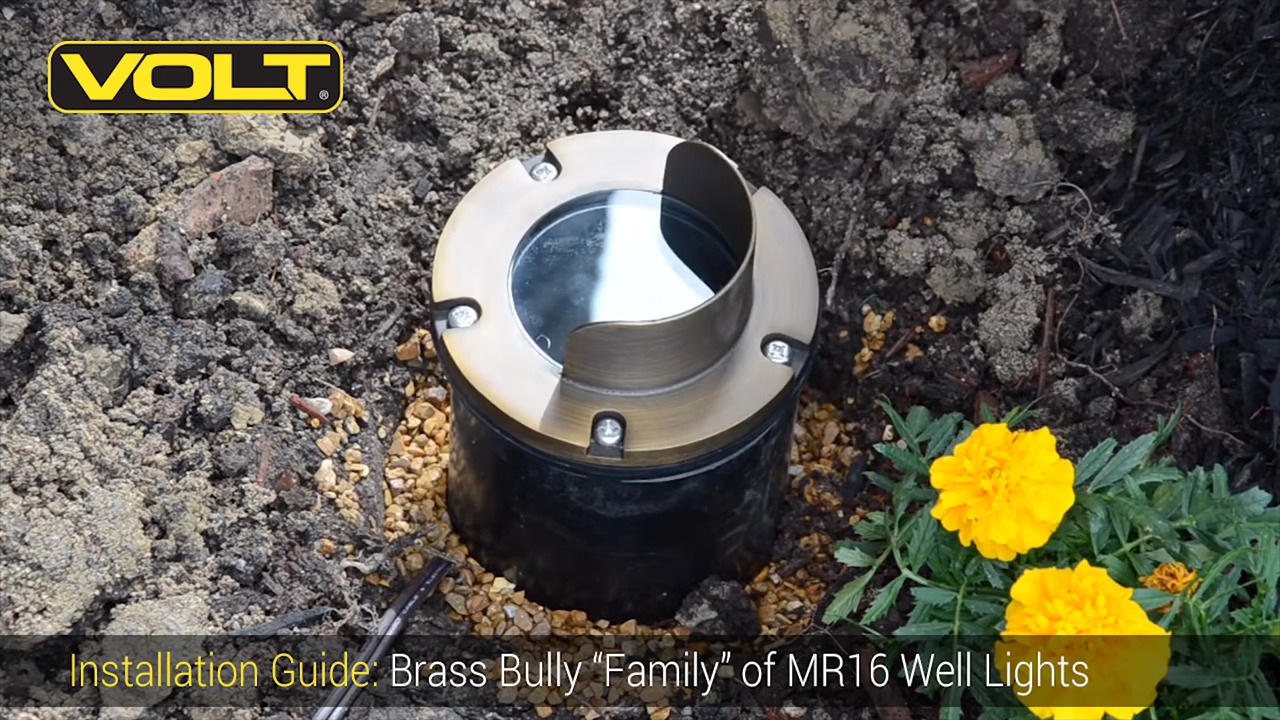
Step 6: Connect the fixture to the lead wire that is inside the sleeve and tuck everything back inside. You can now test fit the fixture to the sleeve height.
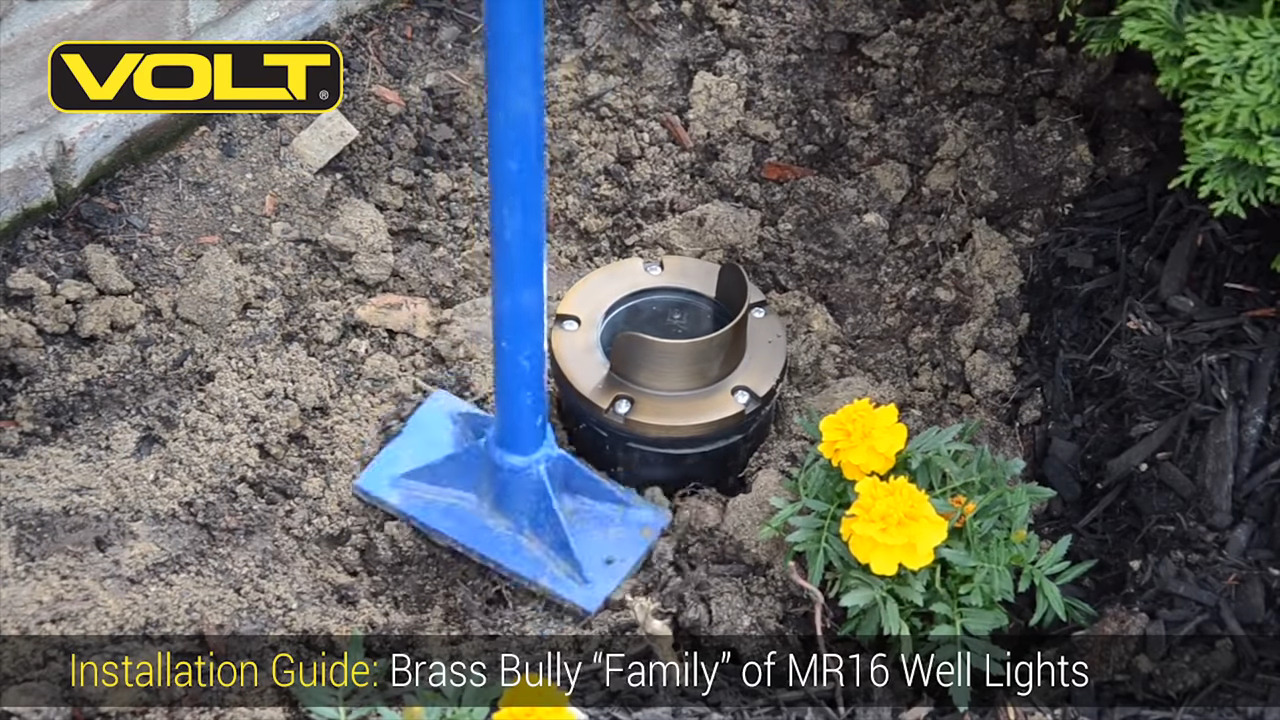
Step 7: With the fixture in place, spread a touch of soil around the fixture with a garden hoe or similar tool, and tamp it into place firmly. Even if this fixture accidentally gets kicked or bumped, it will not get moved out of place.

Step 8: Because of the tamping, the sleeve pipe may have moved slightly out of place, so do a final check for level and slightly adjust as necessary.
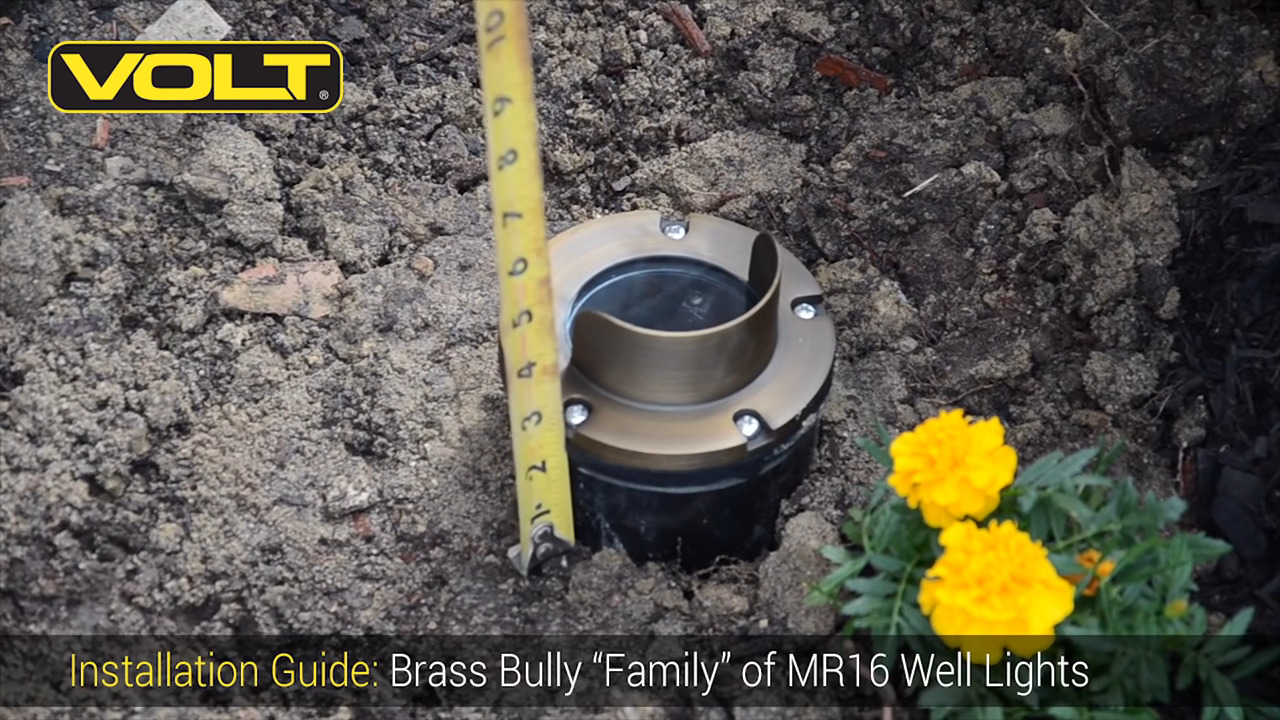
Step 9: With the fixture standing a good 3 inches out of the ground, it’ll now sit level with the mulch when it’s back-filled.
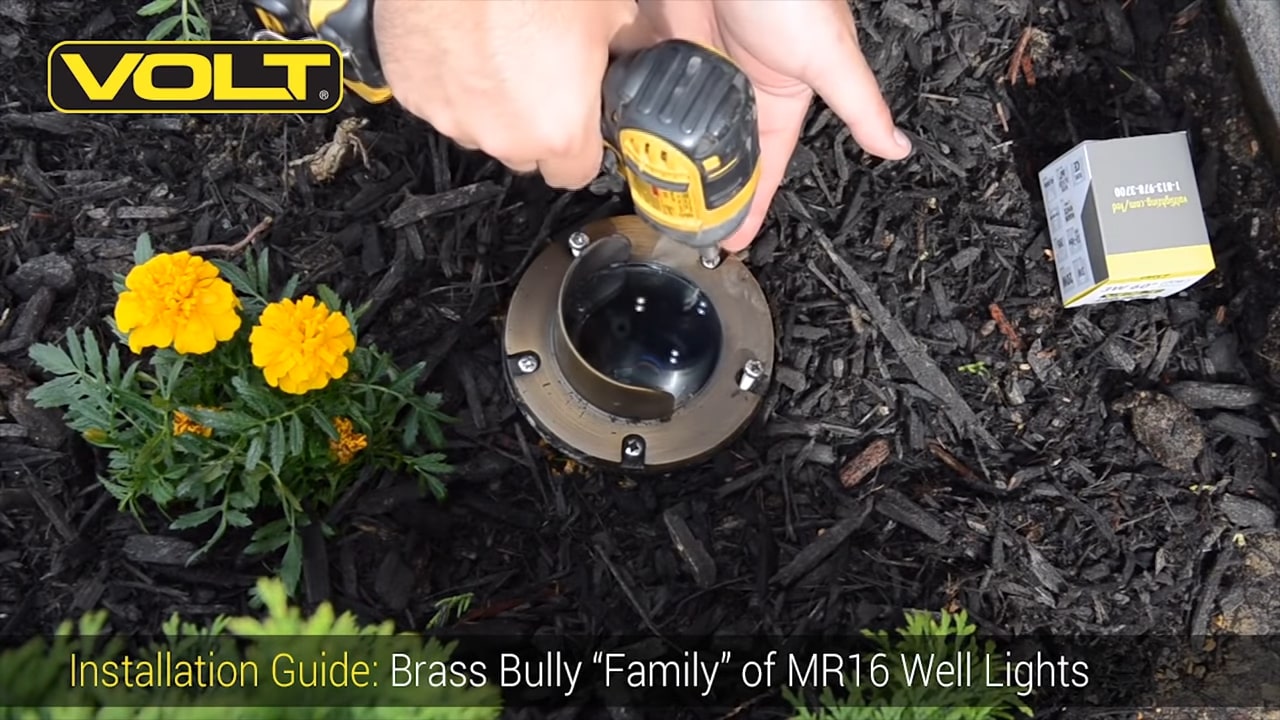
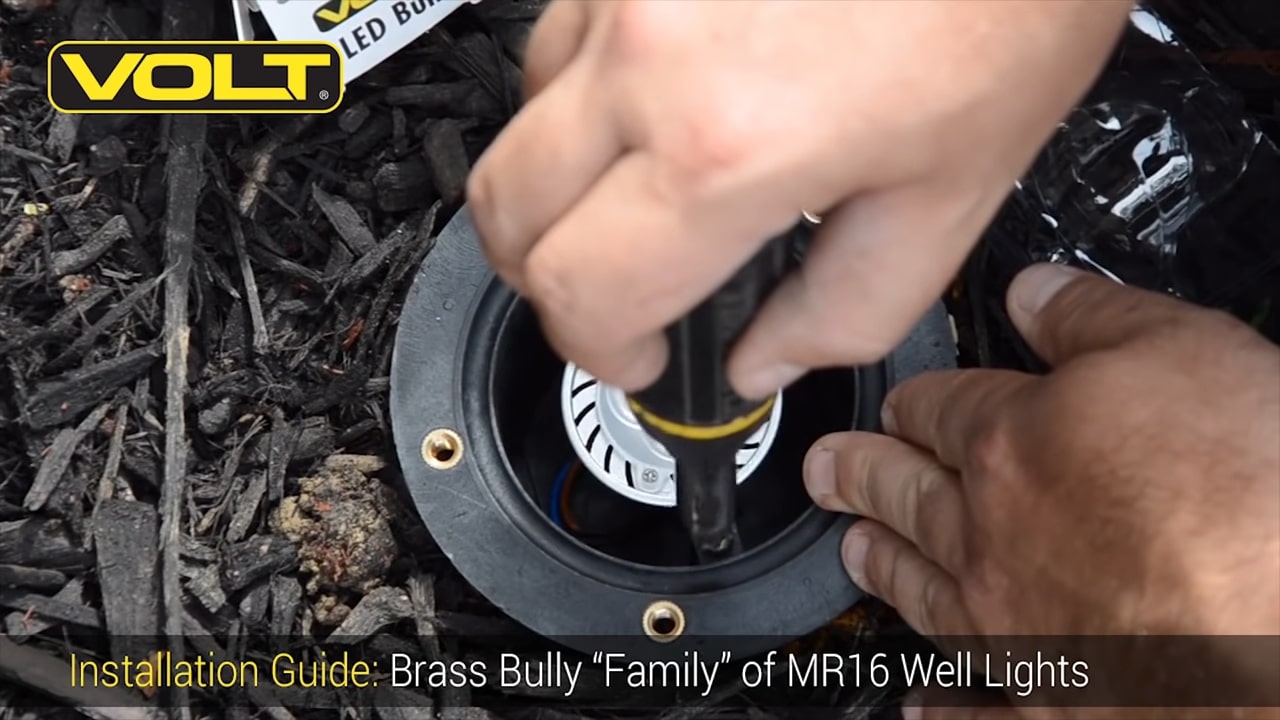
Step 10: Now install the lamp. With the screws loosened, remove the brass top and rubber seal below it together, being careful not to get any dirt or grit on the gasket seal. Insert your choice of lamp and, if your fixture allows, adjust the angle at which the lamp shines. For architecture, pointing straight up is best. Don’t angle the lamp toward walls.
Step 11: While the fixture is open, take a screwdriver and make sure that the screws are firmly set that hold the socket assembly in place.
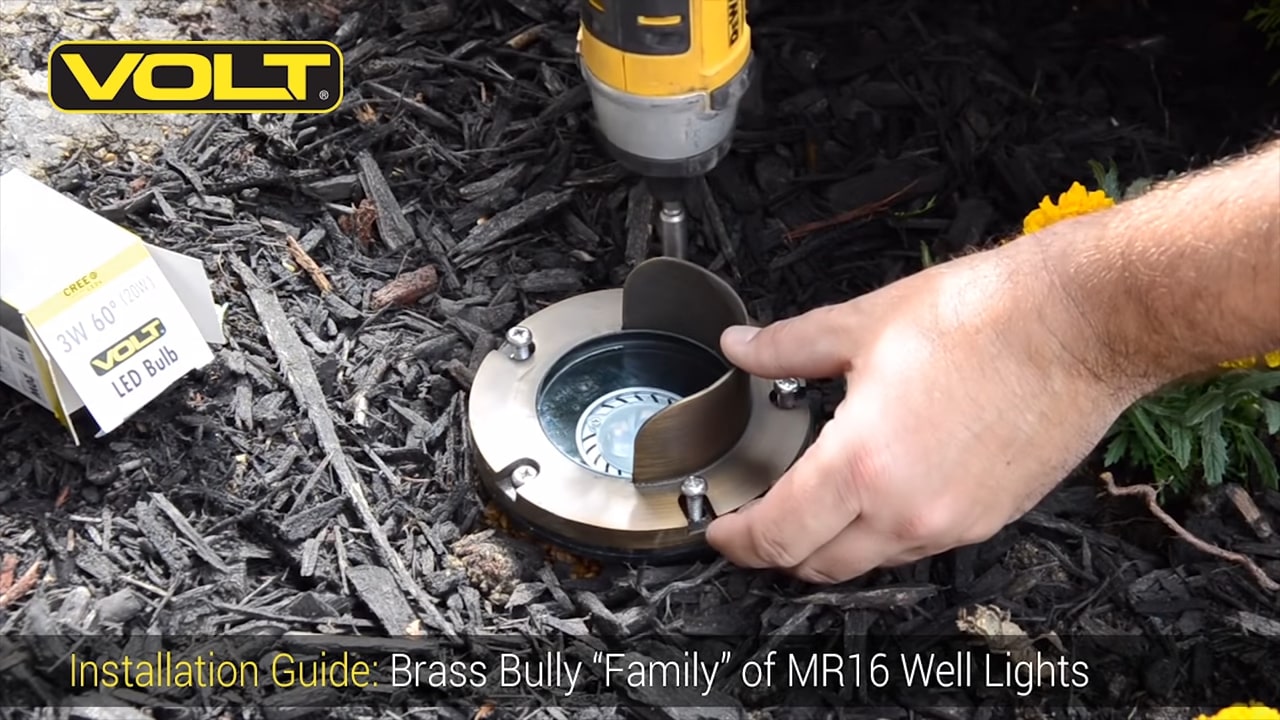
Step 12: Replace the top on the fixture. It’s very important to be sure that the seal between the fixture body and the top rubber gasket seal is free of grit and dirt. Line up the screws over their holes and begin to gently screw them down in a place about three-quarters of the way. Use an alternating or opposing pattern (a “star pattern”) so that the top gets screwed down evenly. Then use a screwdriver to manually snug them into place. There is absolutely no need to over-tighten the screws.