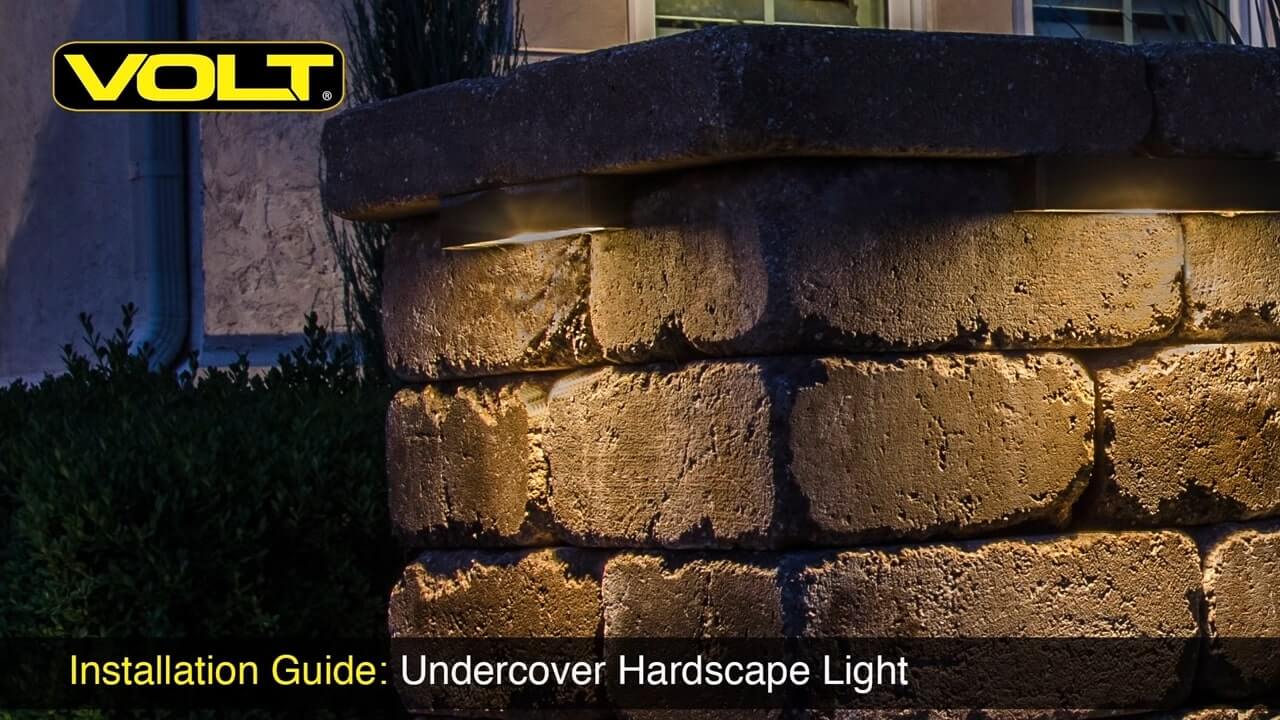
When you have a patio or walkway that extends right up to a wall, usually a path light can’t be placed there. Instead, use a hardscape light to illuminate the hard surface area with soft light, making it much more accessible and enjoyable at night. A hardscape light can also highlight the qualities of the wall material, if it’s unique or interesting.
There are two common applications when installing a hardscape light. You’ll typically either need to install it into a retaining wall with dirt behind it, or into a free-standing wall that’s open on both sides. Here’s how to do both, using the solid cast brass VOLT® Undercover Hardscape Light.
Tools & Supplies
Tape measure, pencil or Sharpie, Philips head screwdriver, masonry chisel, masonry hammer, 4 or 4.5-inch angle grinder with a diamond tip blade, hammer drill with a 1/4 inch masonry drill bit, caulking gun and block adhesive.
How To Install a Hardscape Light In a Retaining Wall
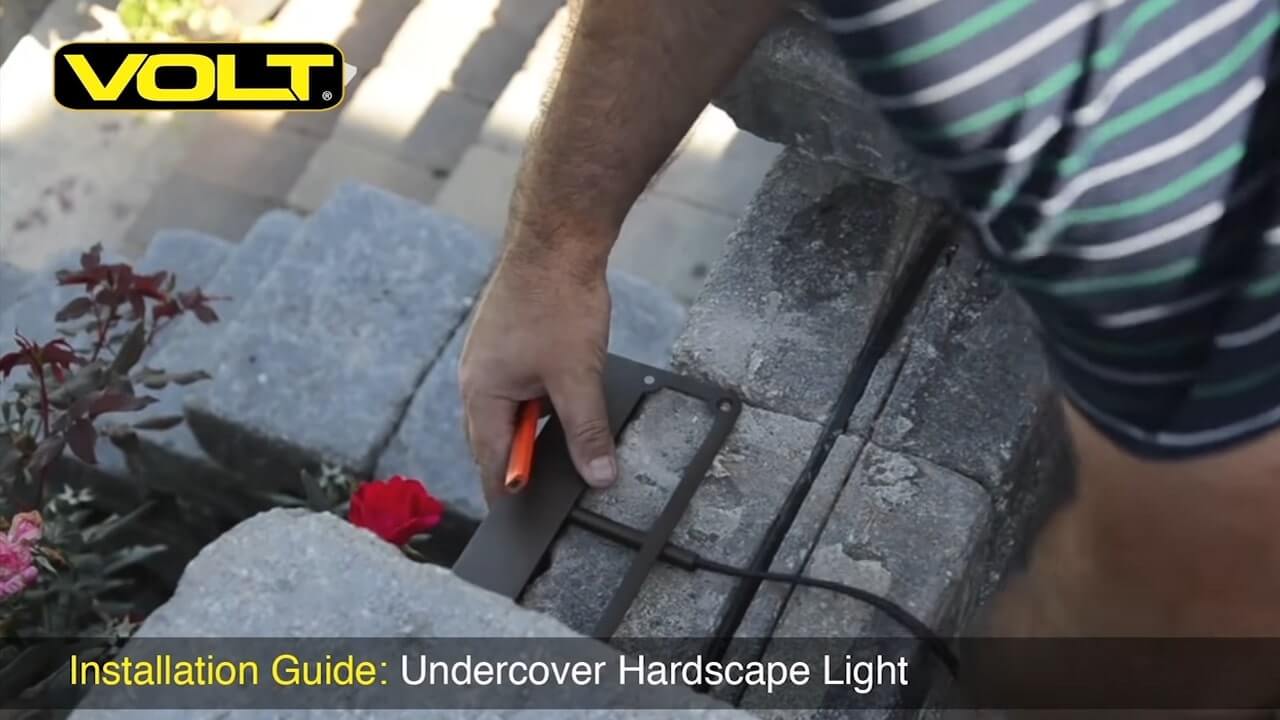
Step 1: Measure and mark the locations for each light. Use a spacing of every 6 to 7 feet.
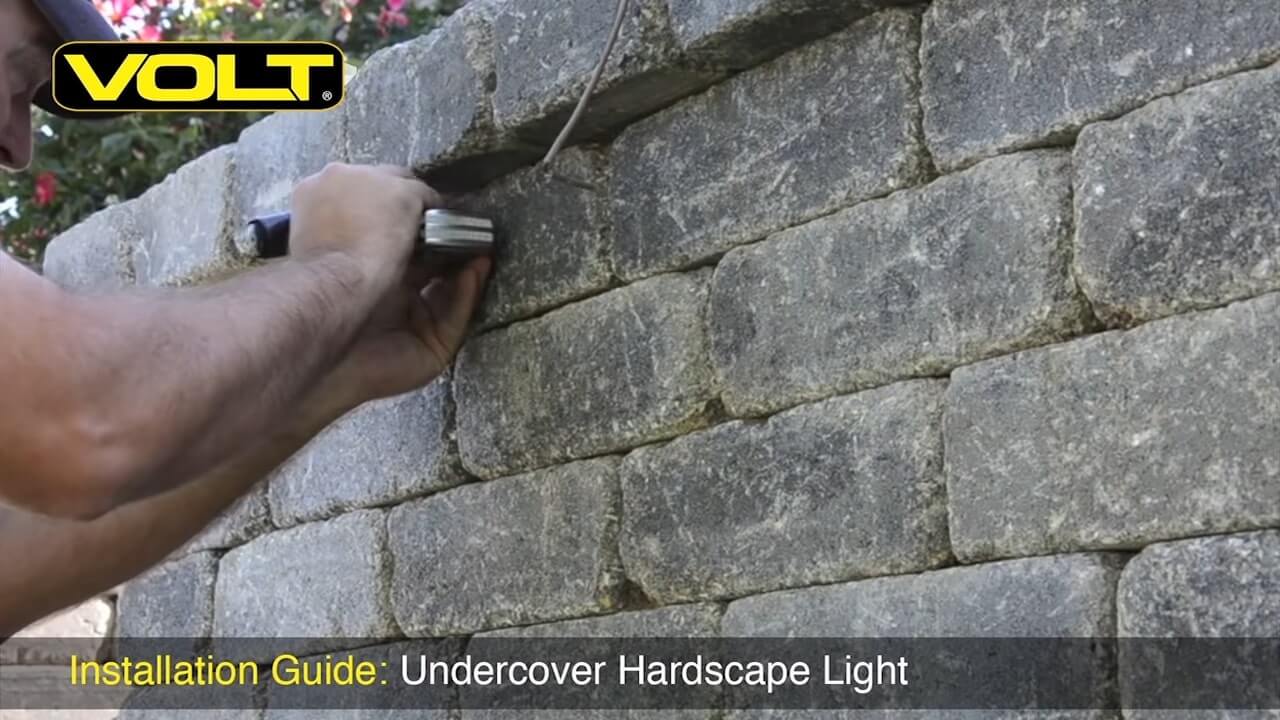
Step 2: Begin forcing the masonry chisel between the capstone and the stone below. As you advance the chisel, you’ll feel the glue between the stones begin to break free.
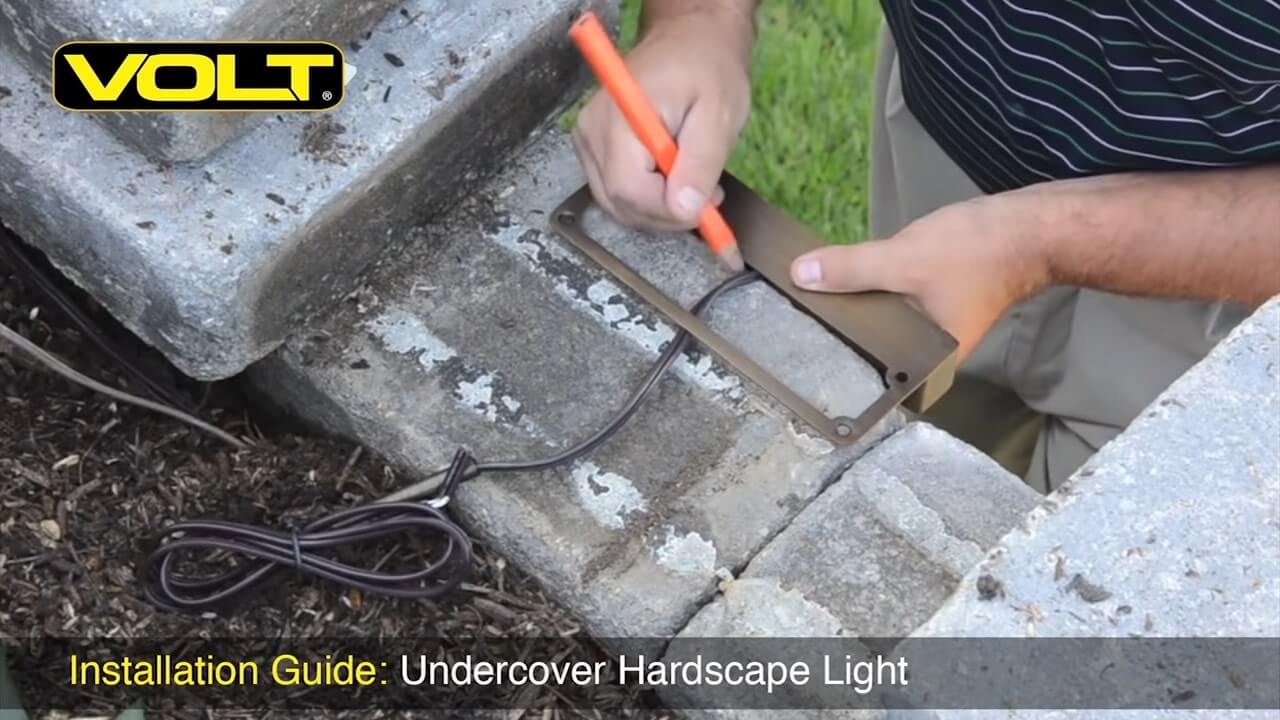
Step 3: With the capstone removed, set your fixture where it will be placed and mark a line from the central point of the fixture straight back to the dirt. This is where you will score a line in the stone for the wire.
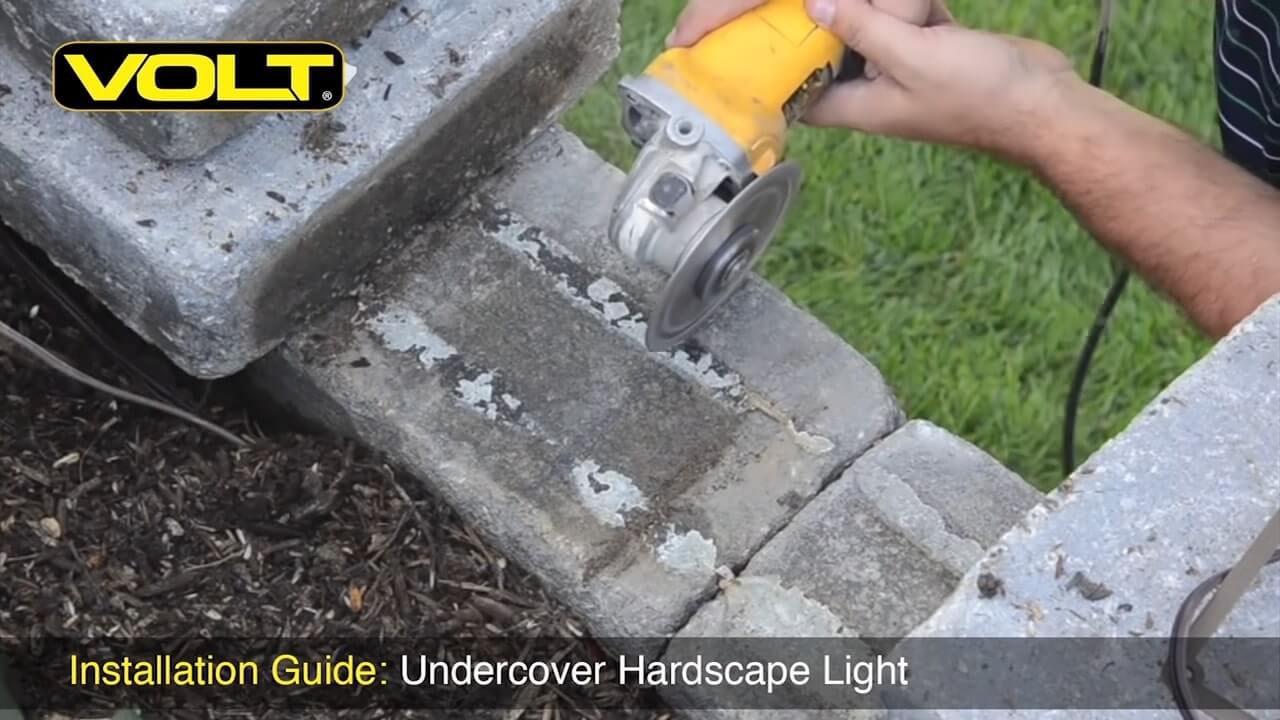
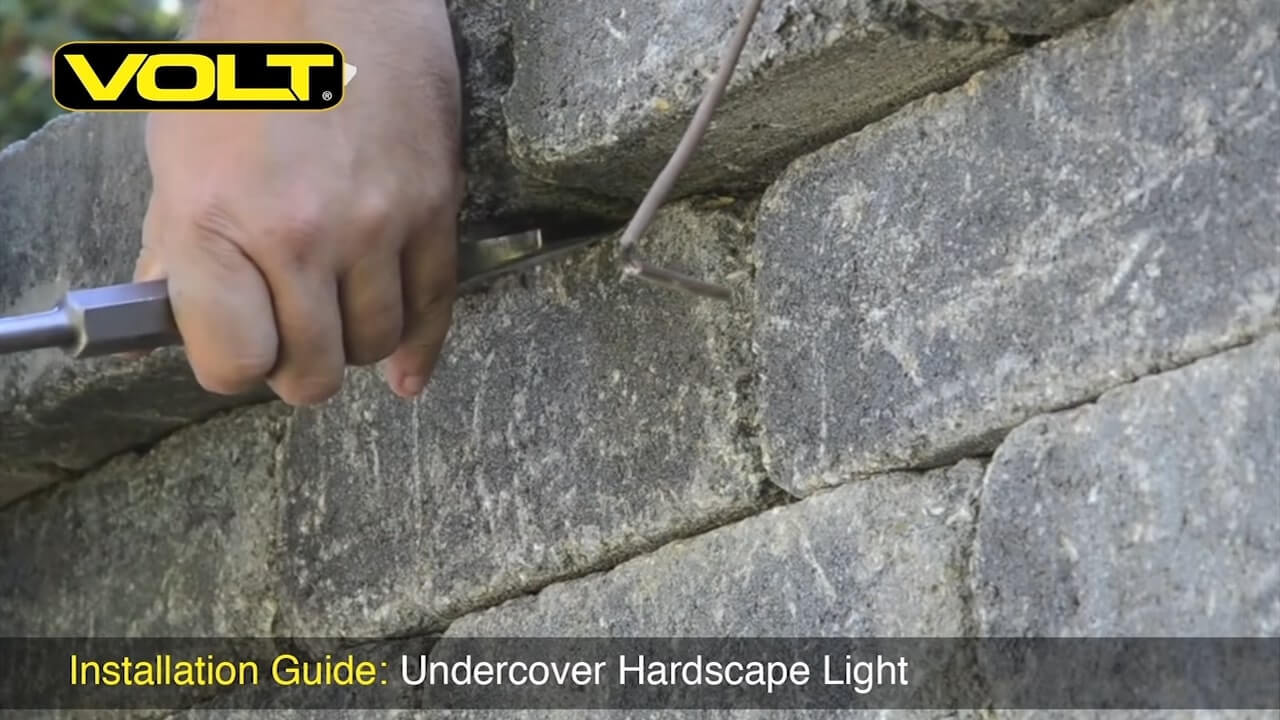
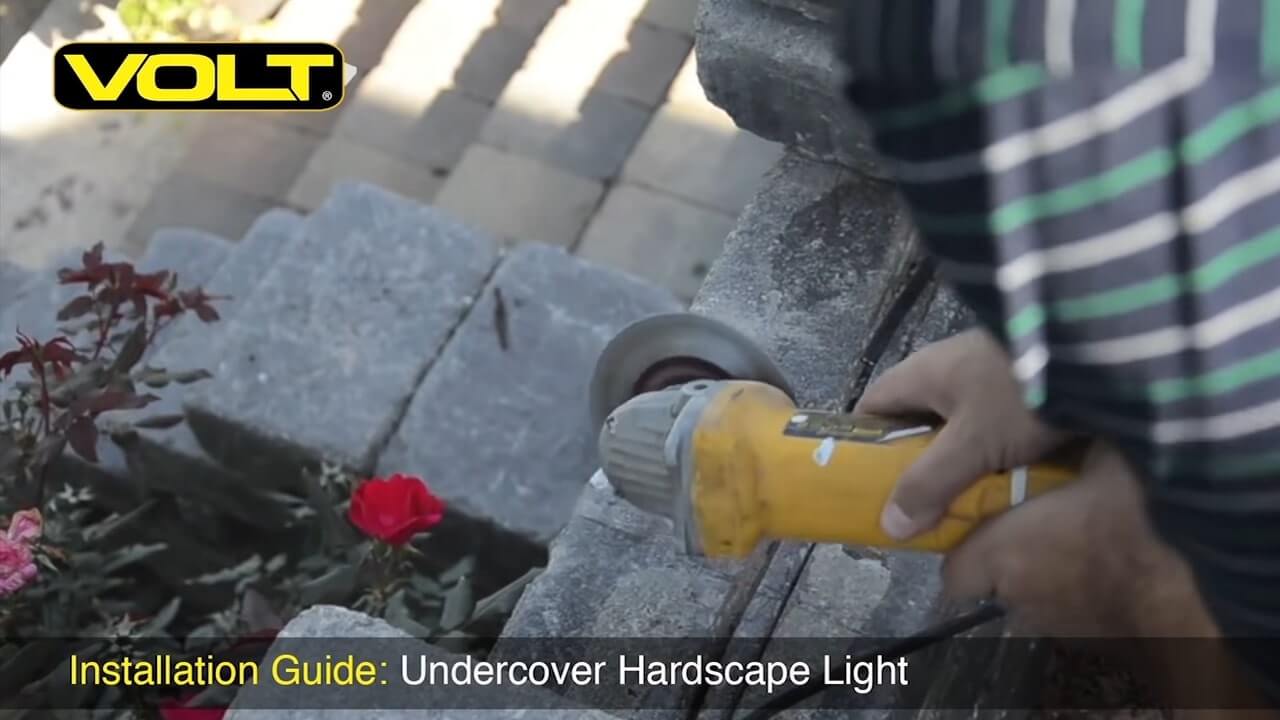
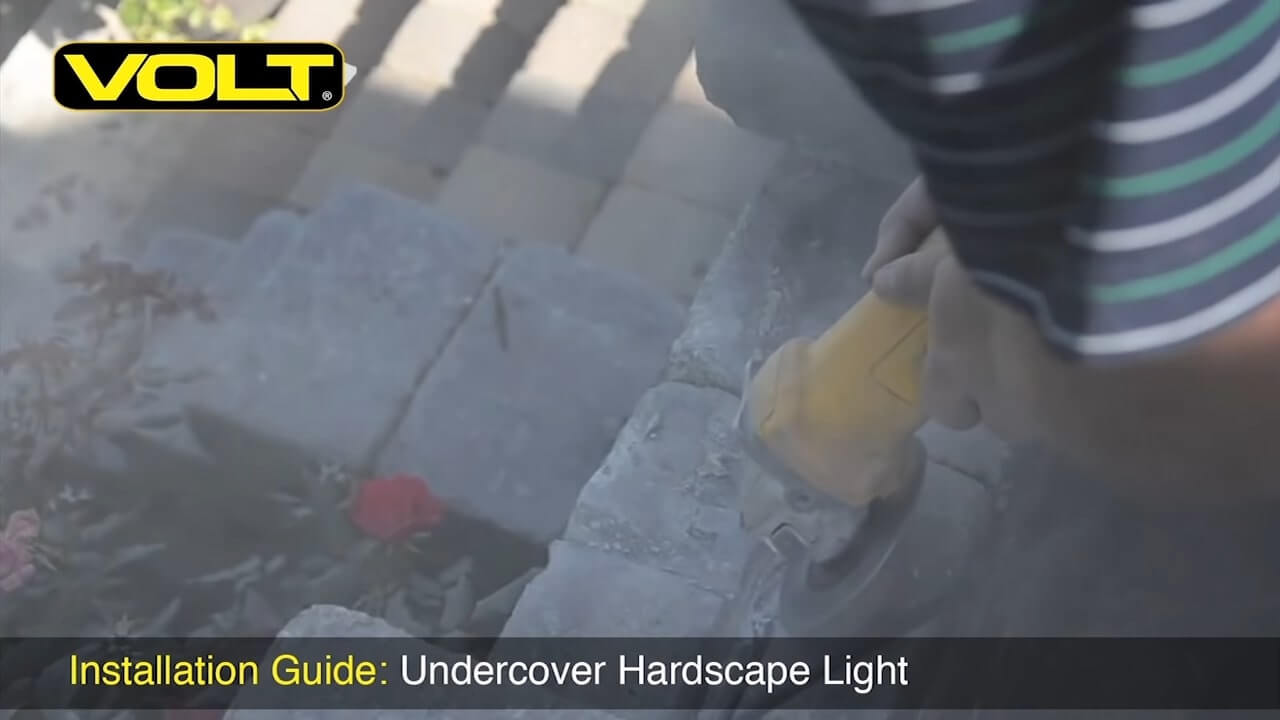
Step 4: With your angle grinder, begin scoring the line you just marked. Make sure it’s deep enough so that the wire lays flat inside. If it’s not deep enough, the capstone won’t sit flush against the stone.
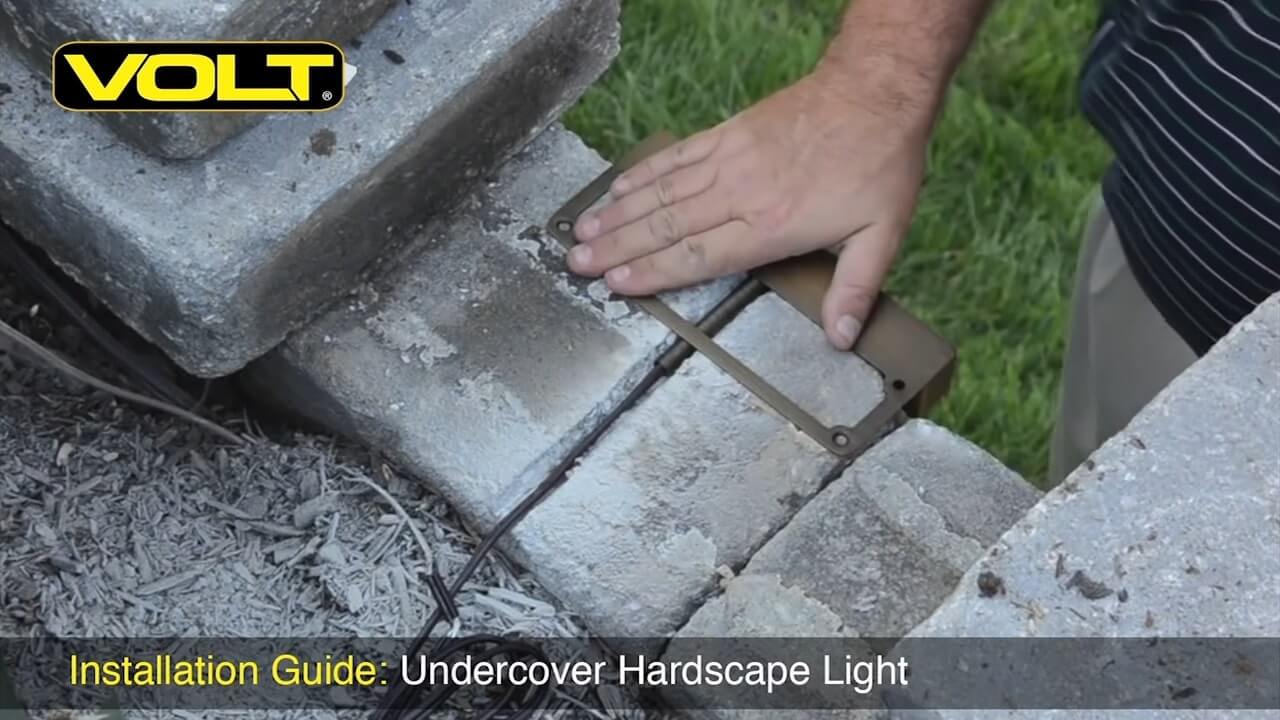
Step 5: Push the protective brass tube into place, set the fixture in position, and lay the cord in the slot.
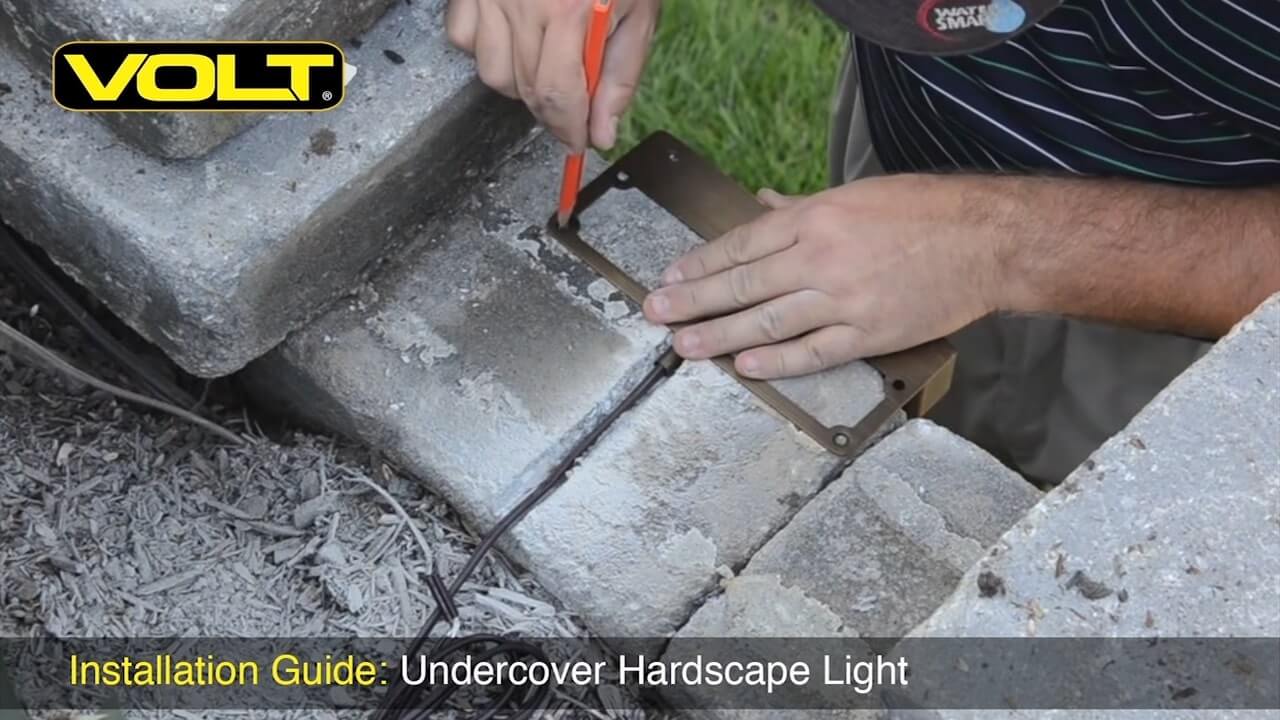
Step 6: Mark holes to secure the fixture with masonry anchors and screws. This is an optional step; you can actually even just glue the light in place and use the weight of the block to hold it down.
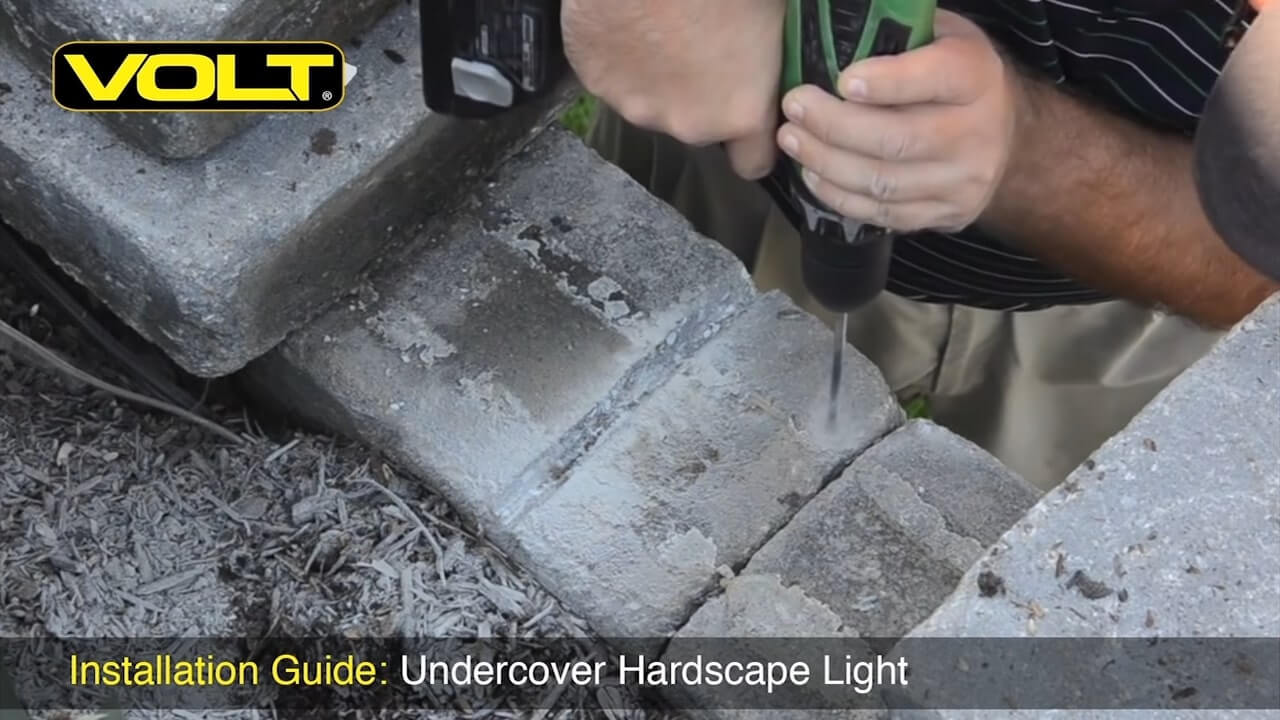
Step 7: Use a small hammer drill with a masonry bit and in the holes you just marked, drill out about 1/2 to 3/4 of an inch deep for your masonry anchors. Place your anchor sleeves in the holes. If it’s a little bit tight, lightly press them in with the back end of a screwdriver or hammer.
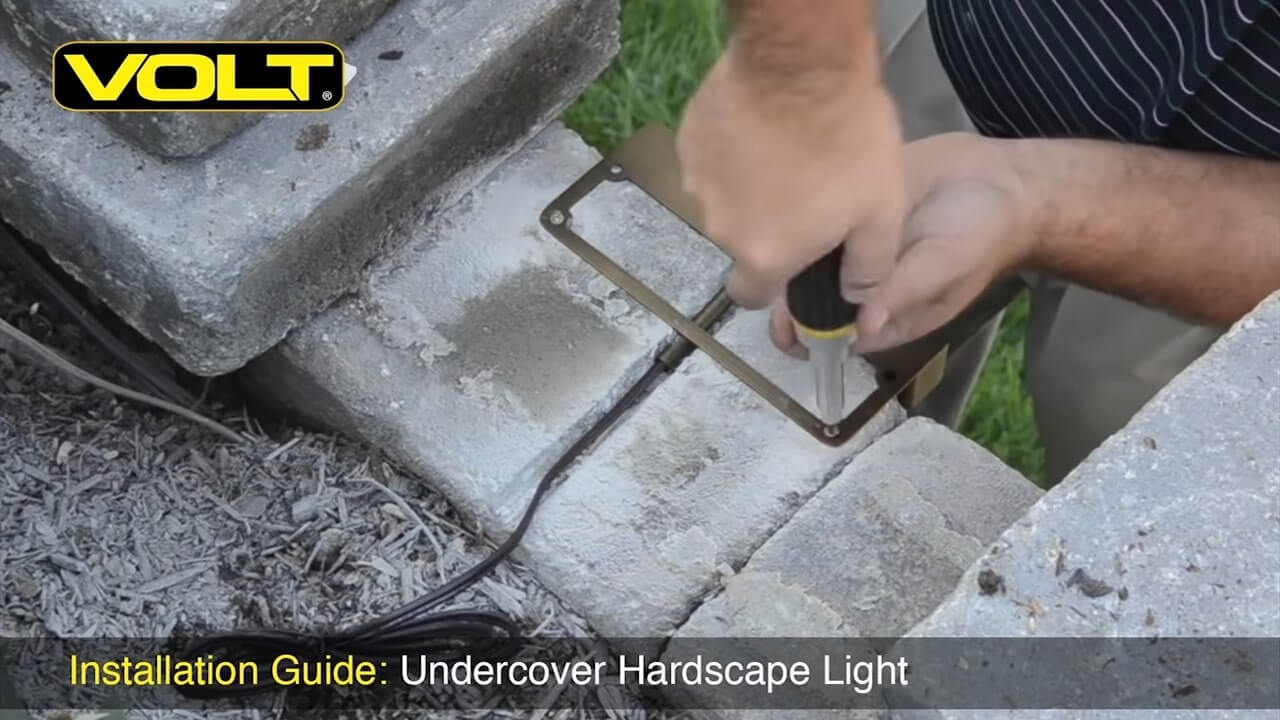
Step 8: Set the fixture in the slot. Stick your screws in the anchors, then begin screwing them down. This will secure your fixture very tightly. Your hardscape fixture is now installed and ready for wiring.
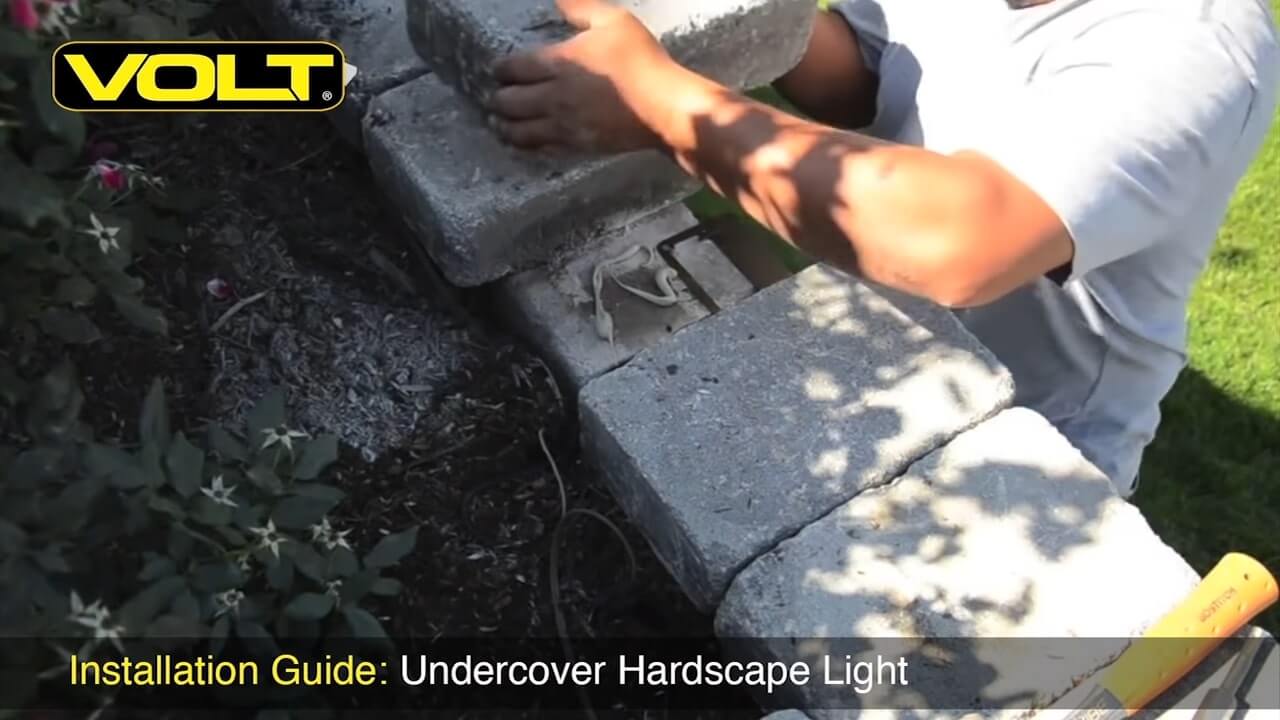
Step 9: Strip your wire leads and make a good, solid, watertight connection. Squirt a good dab of block adhesive back on the stone and place the capstone back into the original location. It never hurts to do a little tap on top to help set that glue. This will finish up the installation of the hardscape light.
How to Install a Hardscape Light In a Free-Standing Wall
Step 1: To install the hardscape light into a freestanding wall with two open sides, begin as before, marking out the fixture location – but this time only go halfway through the stone, to the cable on the inside. This connection is going to be made inside the wall to the cable that is already placed there.
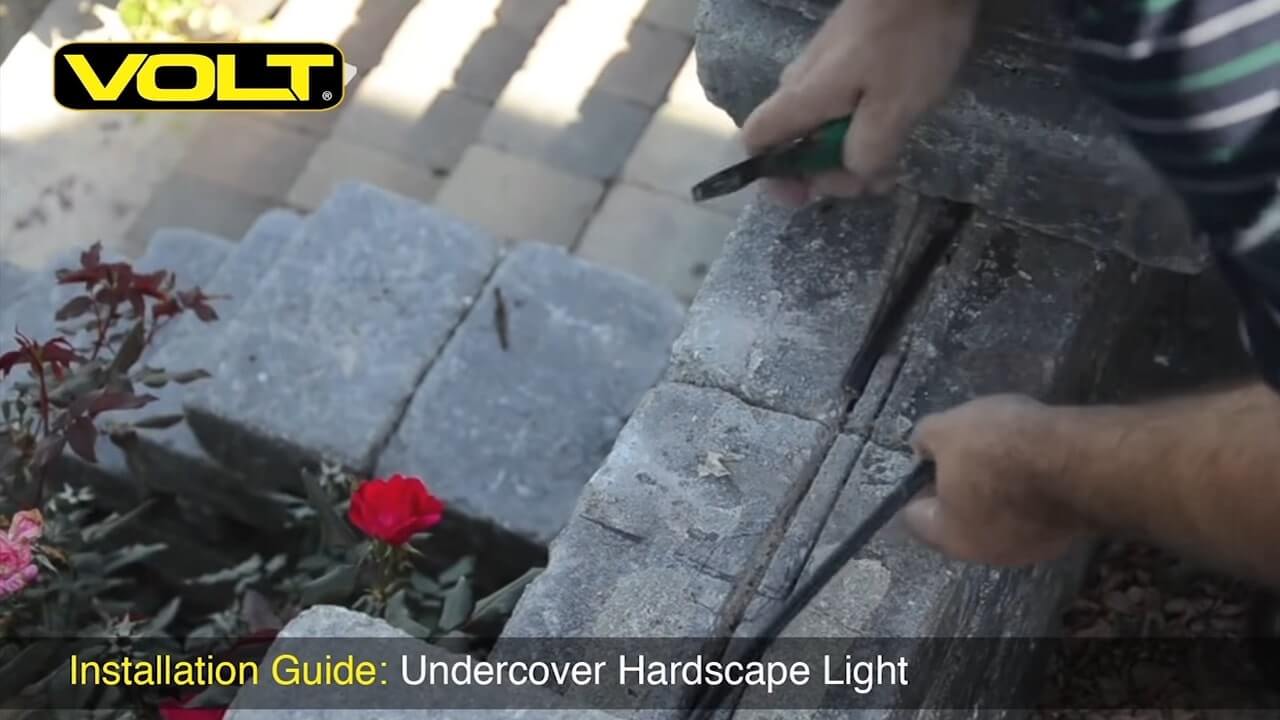
Step 2: Cut the cable where you want to make the splice and then move it out of the way – otherwise it’ll get cut by your grinder.
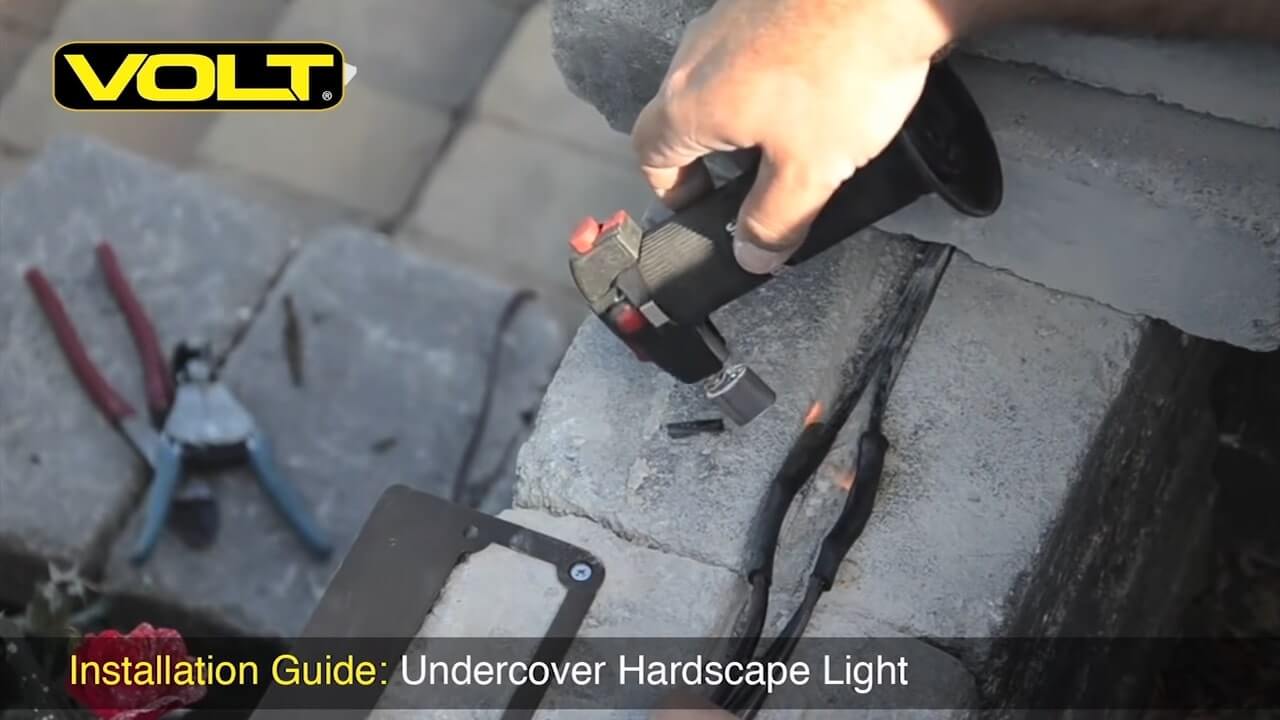
Step 3: Take your grinder and grind out a slot as before, making a groove for the wire – but only go halfway through, to the center of the stone.
Step 4: Use the grinder to enlarge the central groove, making it just a bit wider so it’ll accommodate the new connection.
Step 5: Strip the wires and make a new connection in the wall. Use adhesive lined heat shrink tube that you can heat up and shrink over the connection to make it watertight.
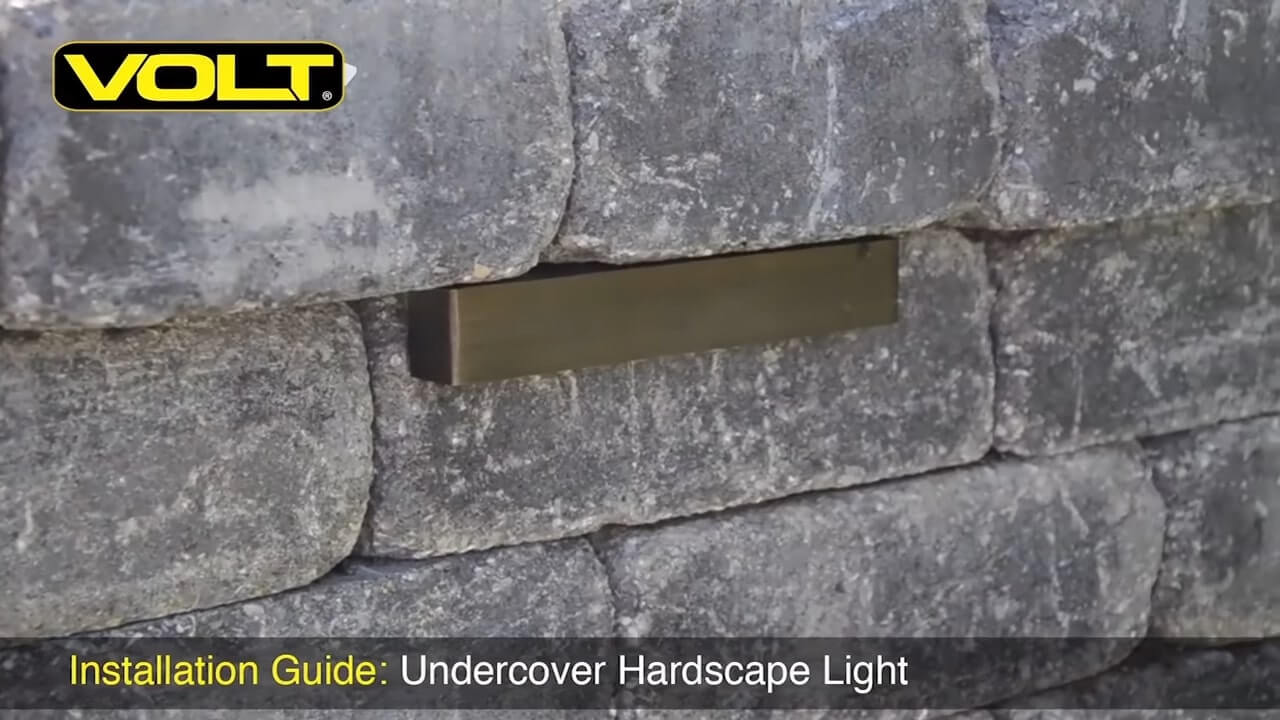
Step 6: Apply some block adhesive and put your capstone back in place, and now your hardscape light installation is finished.
For questions about this or anything else when it comes to landscape lighting, please give us a call at (813) 978-3700.