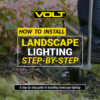
VOLT® kits from Costco® are a convenient way to enhance your home with professional-grade, solid brass LED landscape lighting. Our kits are powered by low voltage, so installation is a safe and easy do-it-yourself project. Simply follow these steps to make your home the envy of your neighborhood!
Step-by-Step Instructions

Step 1: Start With a Plan
It’s best to have a plan before unboxing the kit. Have a general idea of where you want to place your fixtures and where the transformer should be located. Also, part of the planning process is figuring out how and where to run your main run from the transformer to the hubs.
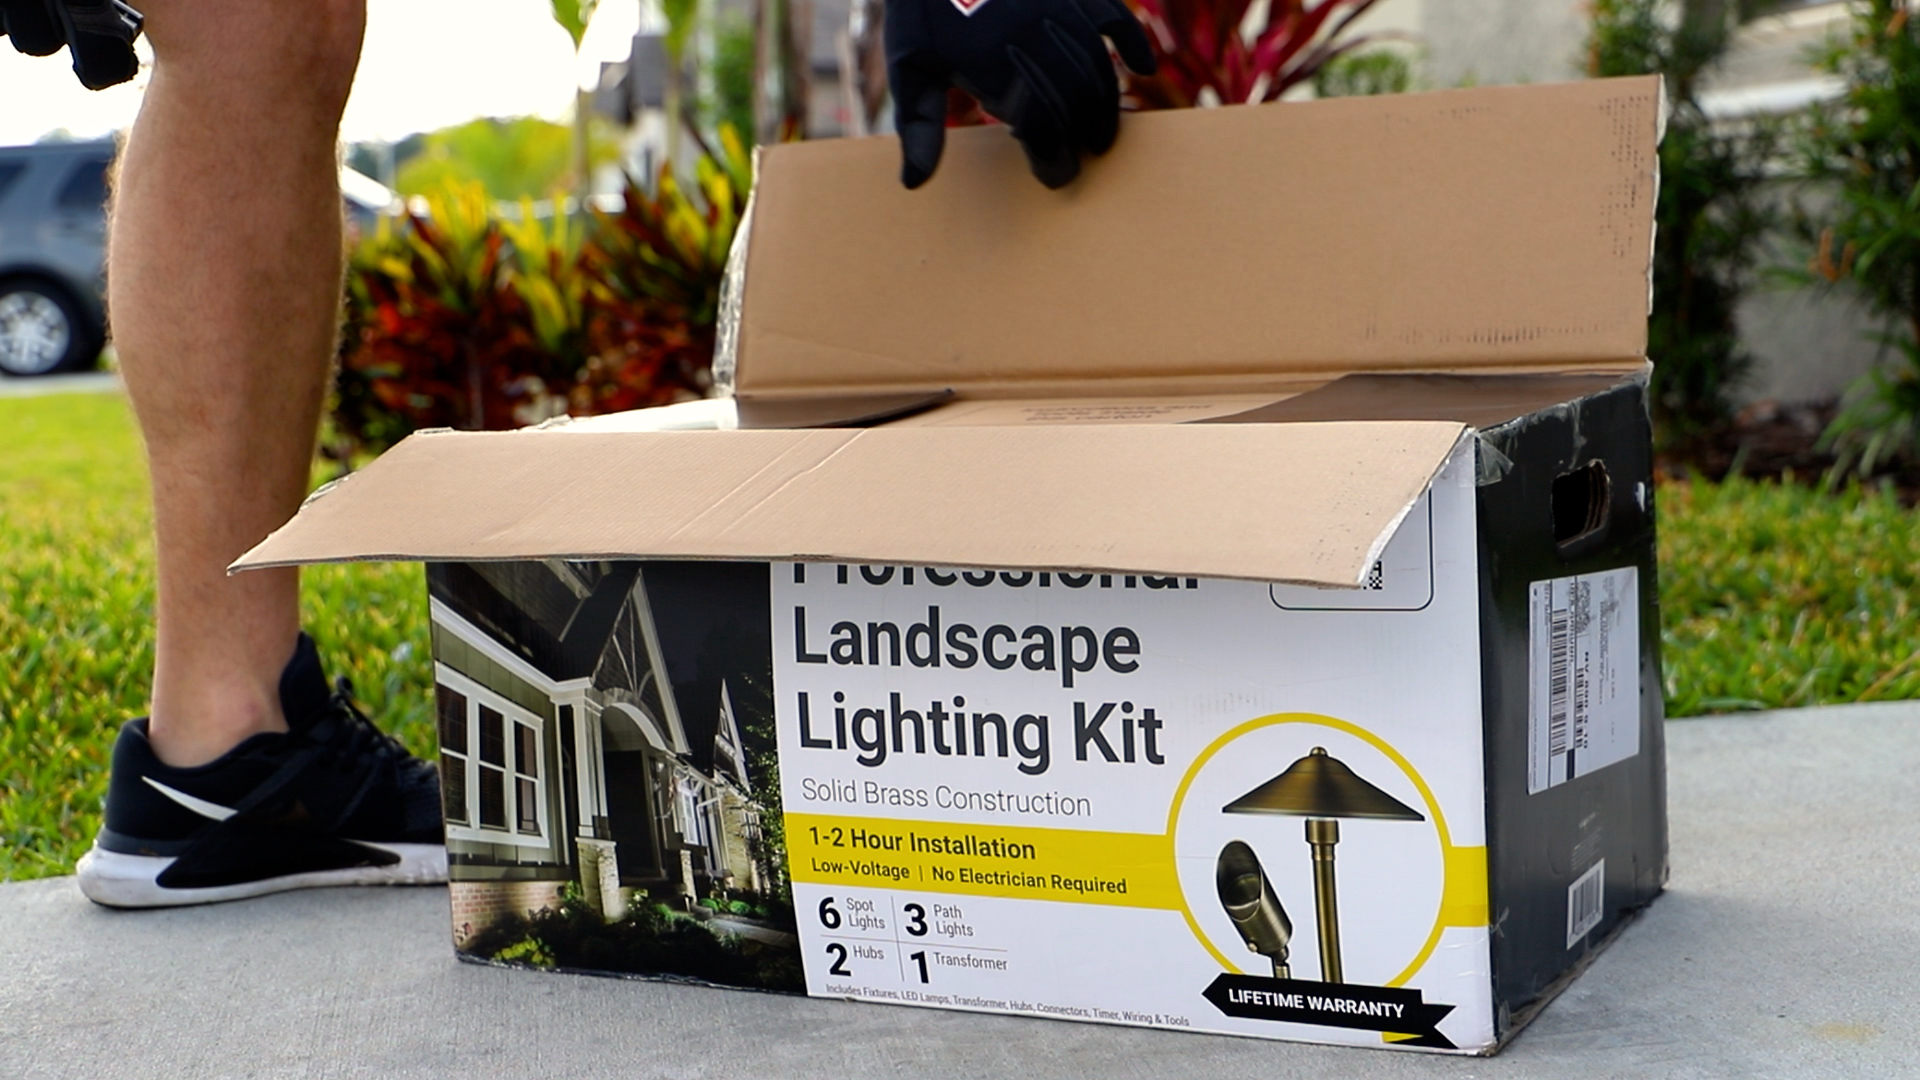
Step 2: Unbox the Fixtures
Start by unboxing all of your fixtures and checking to ensure that you have all of the parts that are included in the kit.
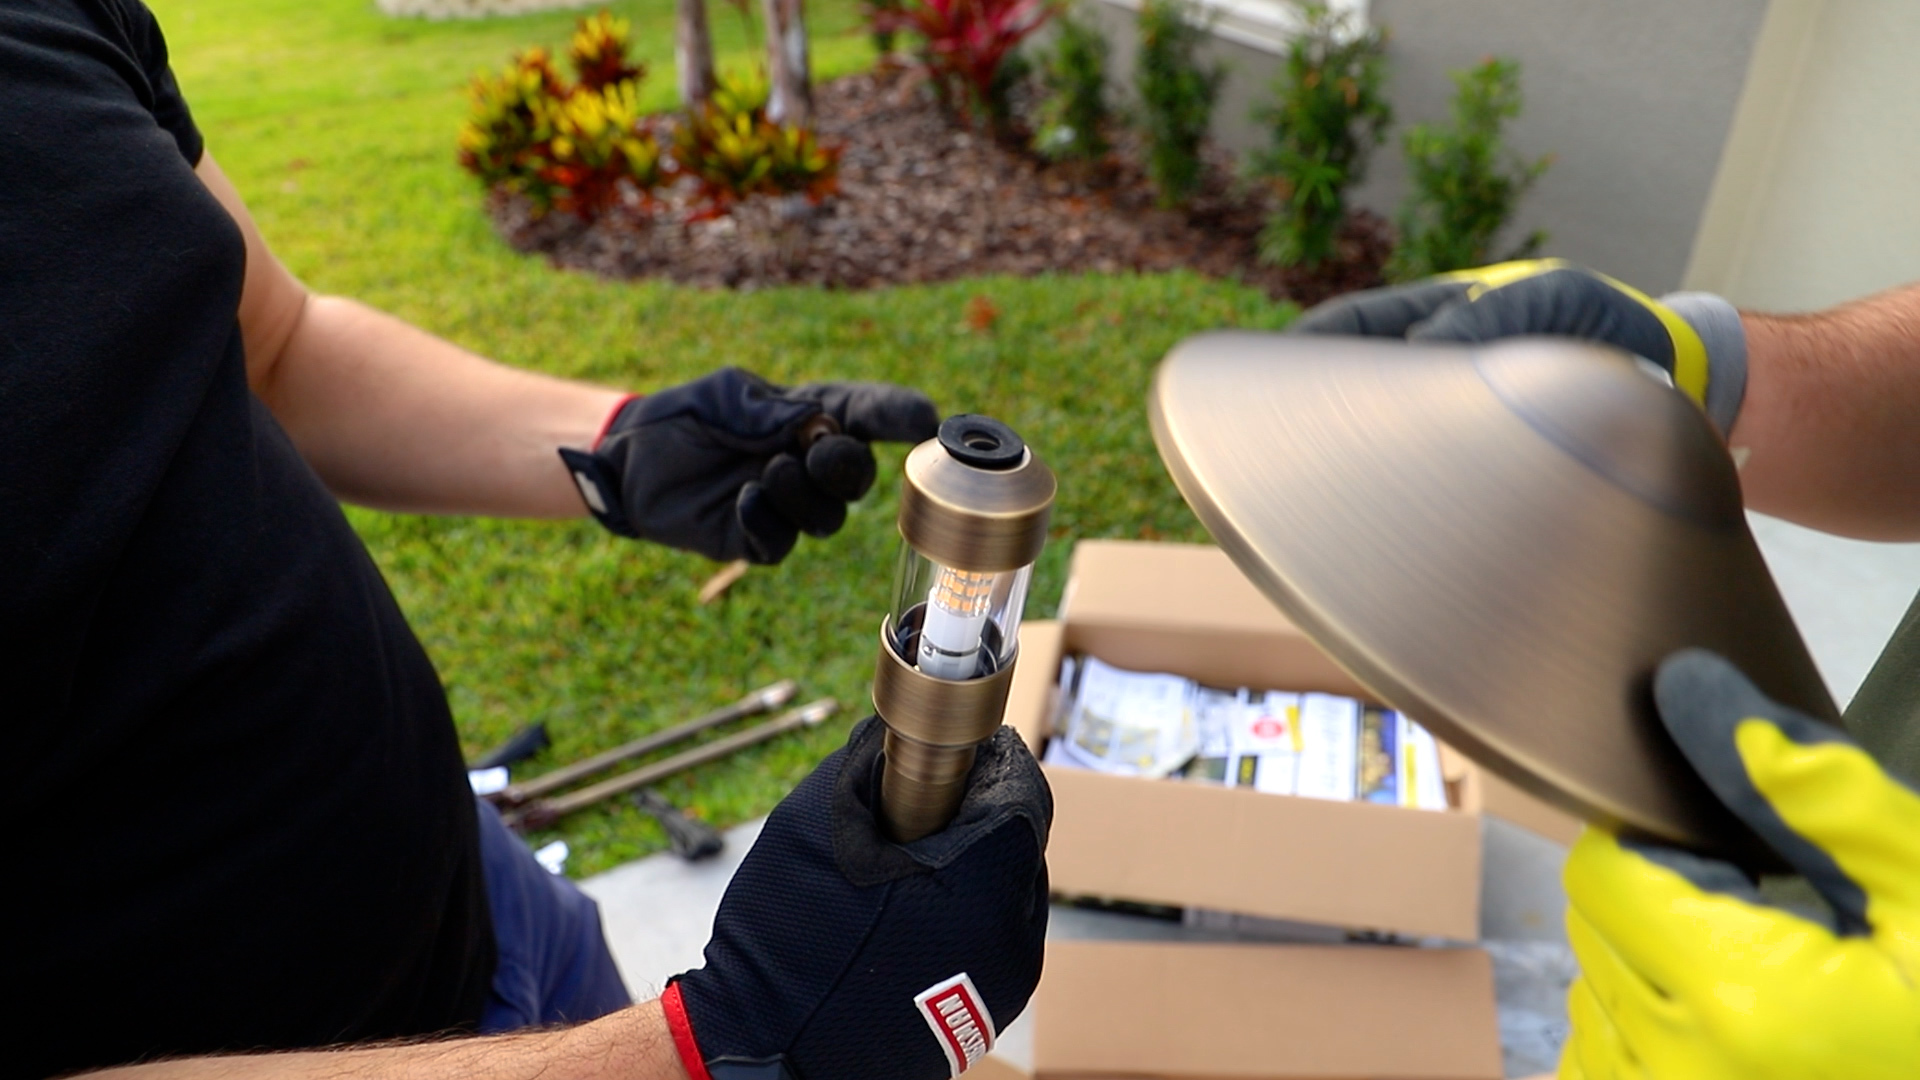
Step 3: Assemble the Fixtures
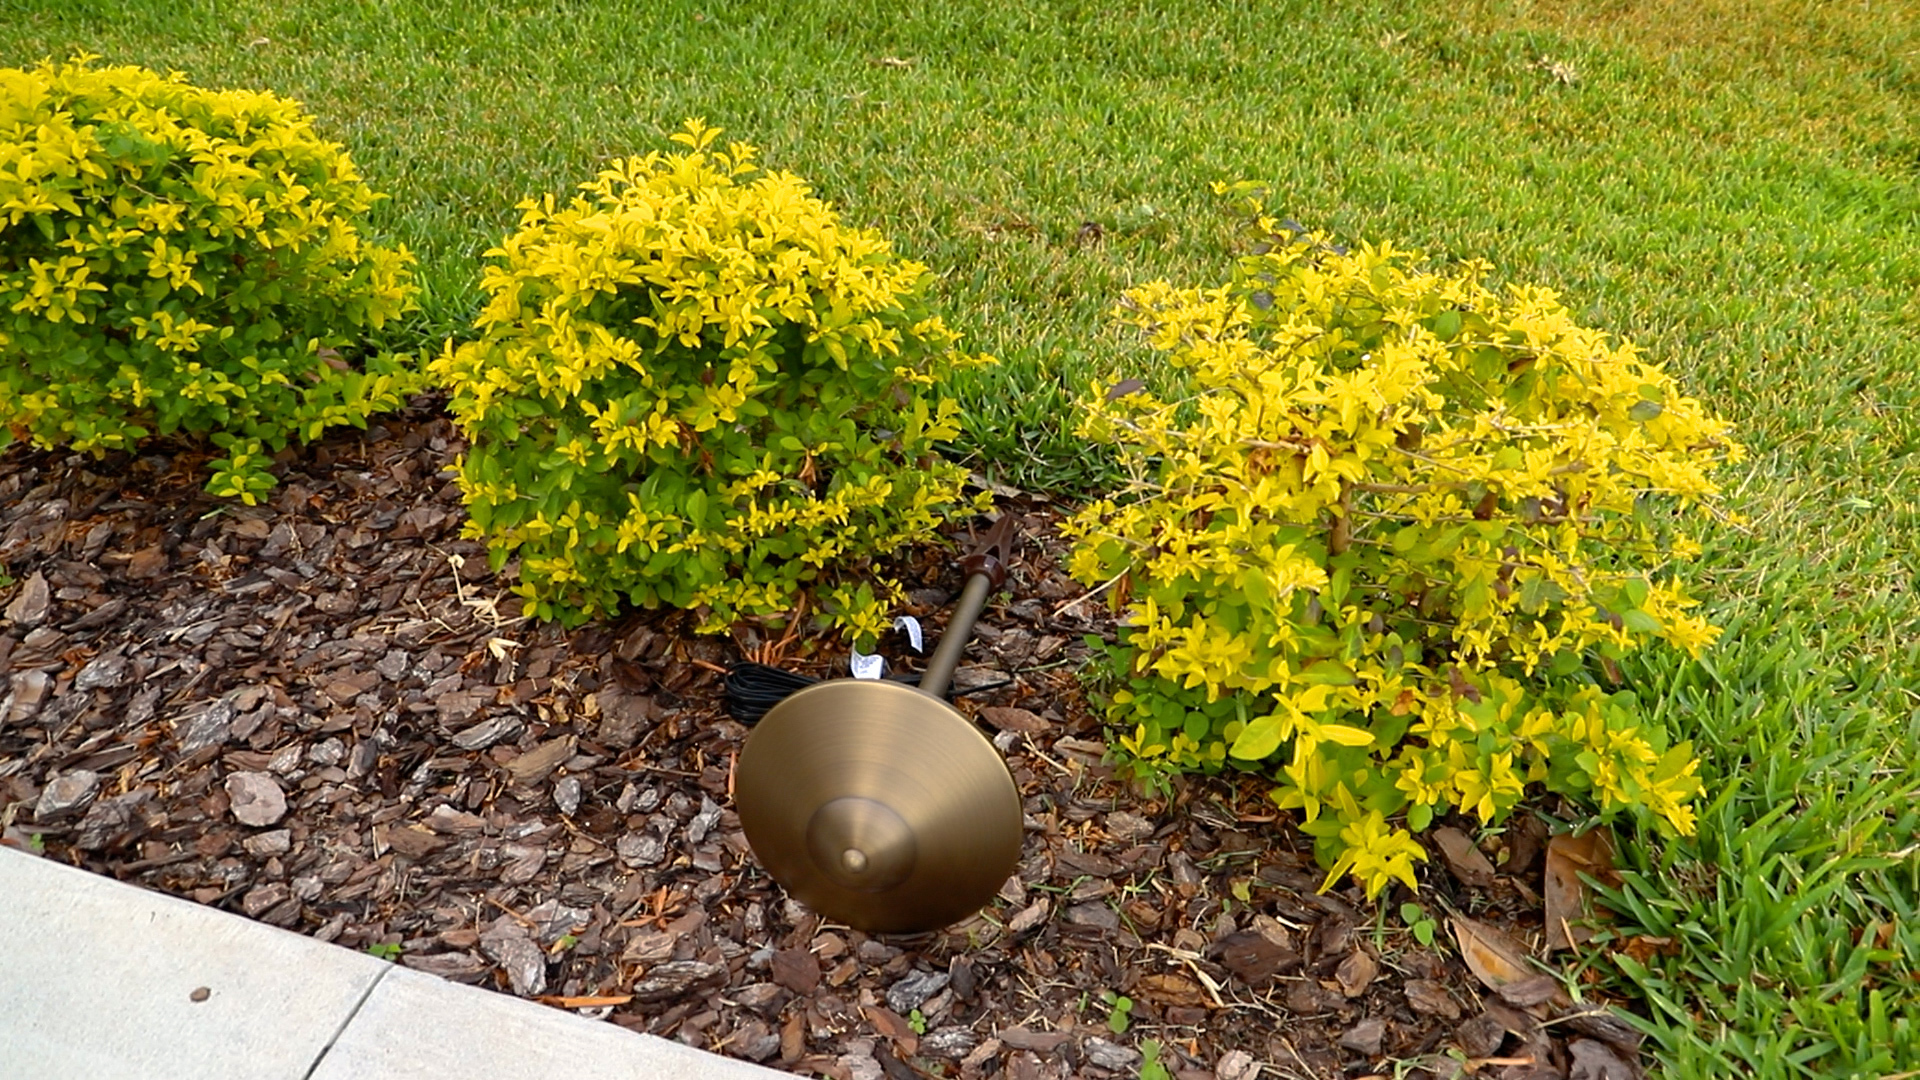
The spotlights in this kit come pre-assembled with a ground stake and a 5-watt MR16 bulb pre-installed. For the path lights, there are a few simple steps to get them assembled. Start by unscrewing the glass lamp housing to access the receptacles for the G4 Bi-Pin bulb. Once the bulb is installed, screw the lamp housing back on. Next, remove the finial nut from the top of the lamp housing to attach the lamp shade. It’s important to note that the felt ring goes between the lamp housing and the lamp shade. Then push the ground stake onto the bottom of the path light and tighten the hex nut to secure the ground stake to the stem.
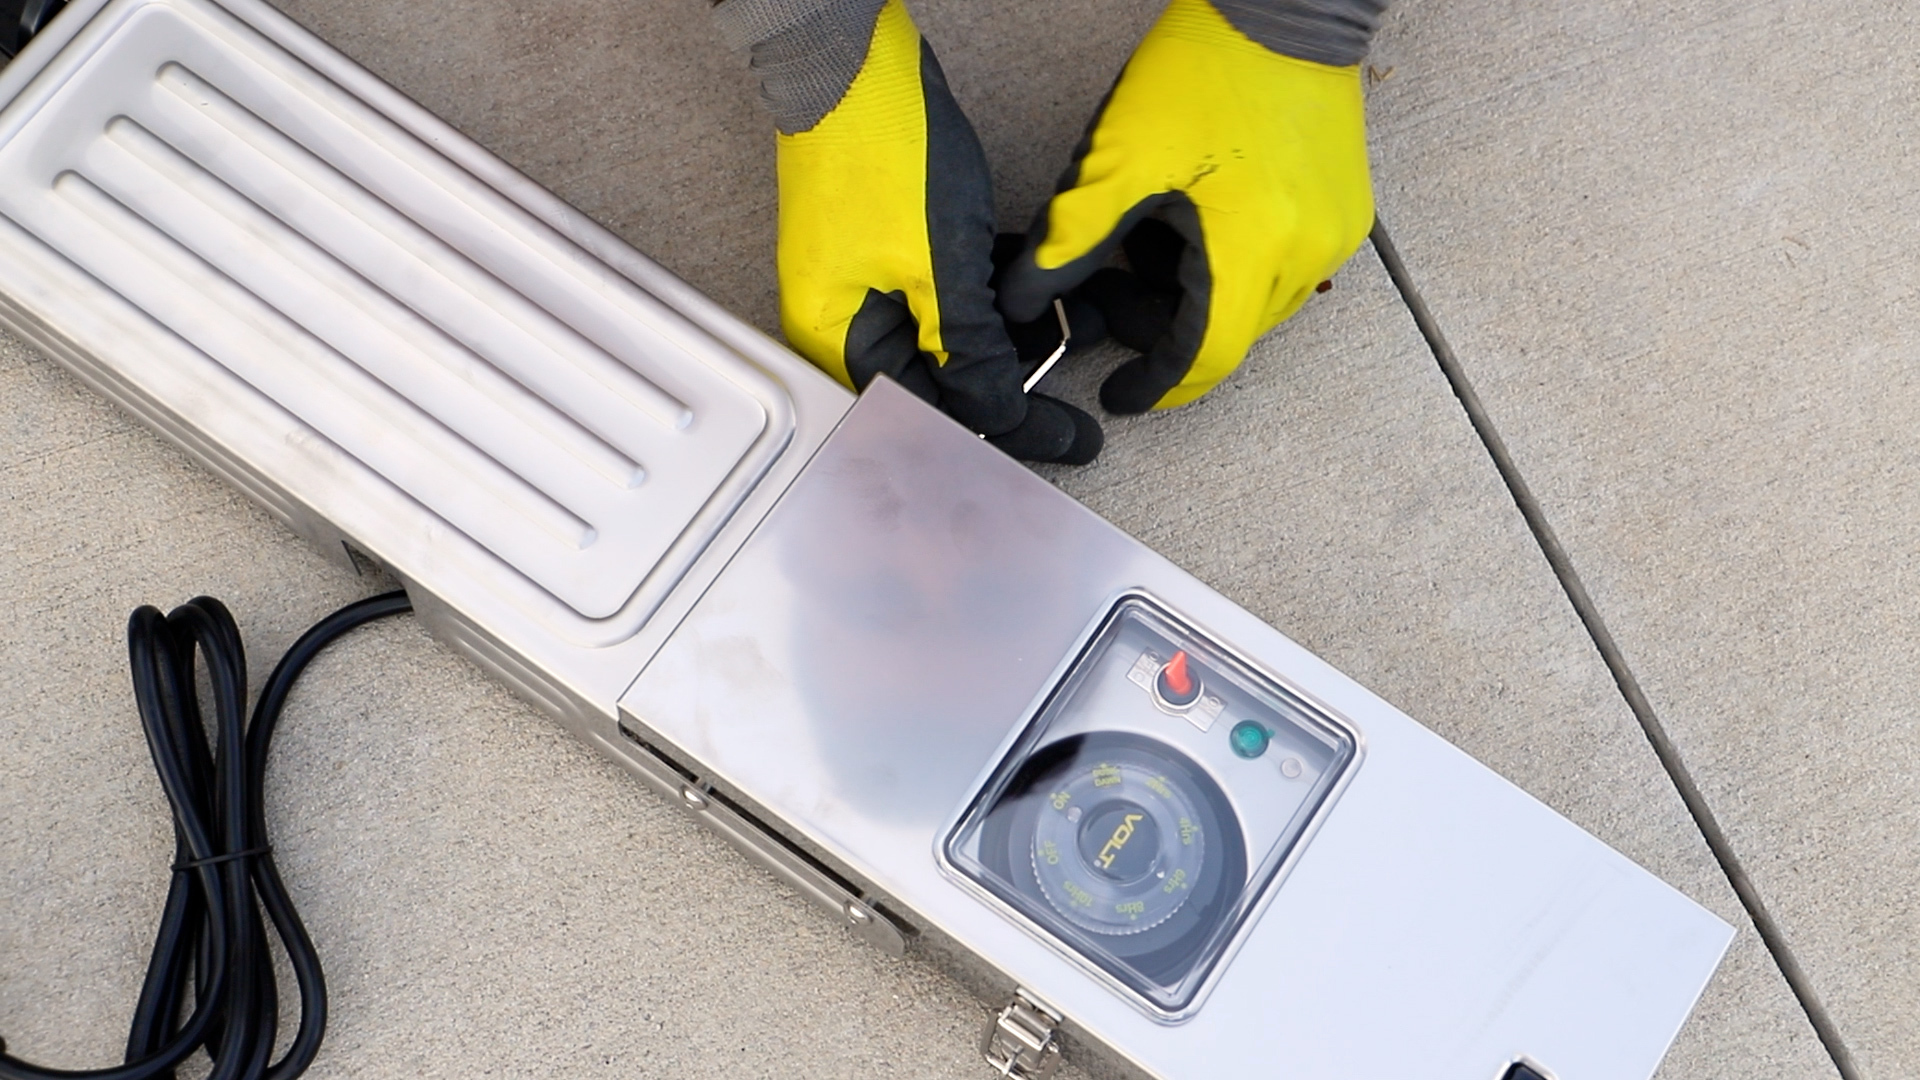
Step 4: Transformer Assembly
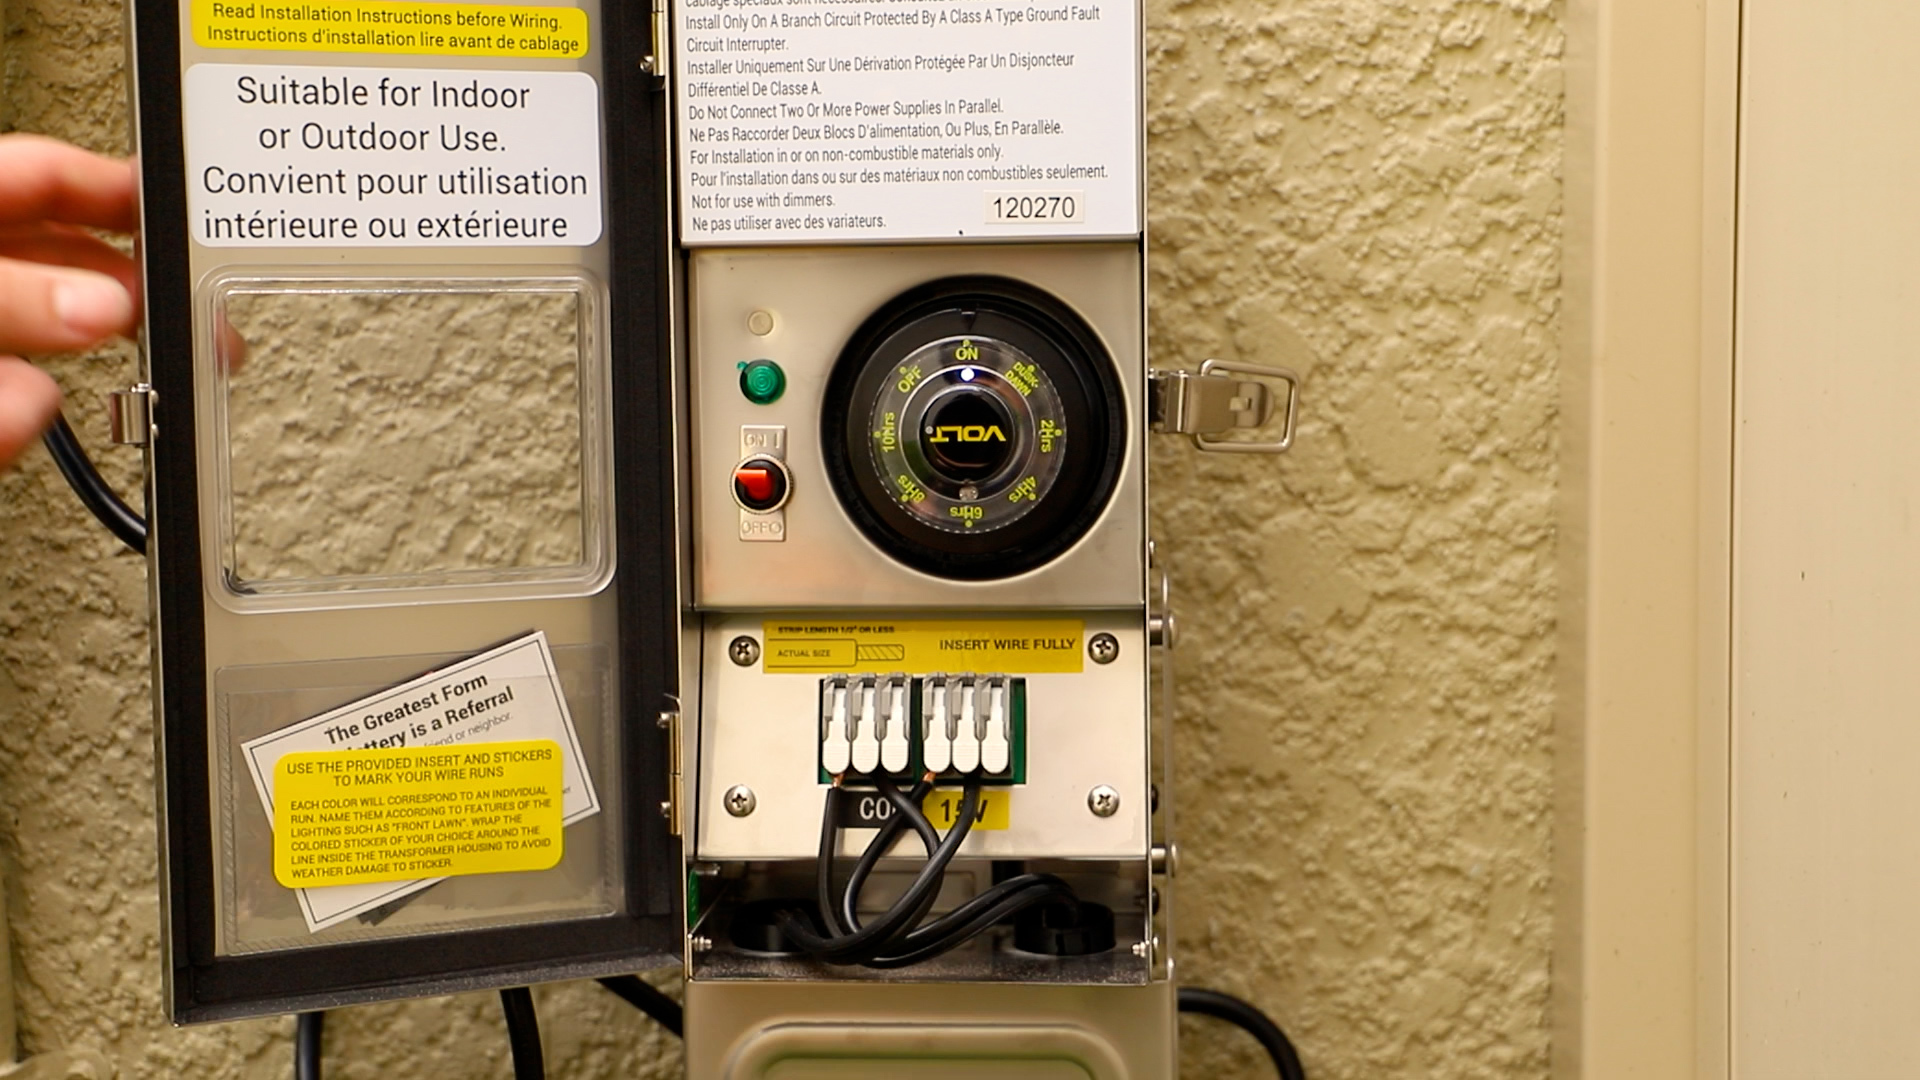
This kit includes two different mounting options for the transformer: the pedestal mount and a wall mount bracket. If you do not want to drill into the side of your home, the pedestal mount is the best option. To install the pedestal mount, simply attach the pedestal to the transformer using two screws on either side of the transformer and screw on two ground stakes at the bottom of the pedestal mount. Or to wall-mount the transformer, simply attach the provided hanging bracket to the back of the transformer using two screws. Make sure that you are mounting the transformer near an electrical outlet on the outside of your home.
Step 5: Fixture Placement
Once your transformer is mounted or staked in the ground near an electrical outlet, lay out the fixtures in the ideal locations where you’d like them. This will help with getting an idea of where to place your hubs and where your main run from the transformer will need to come to.
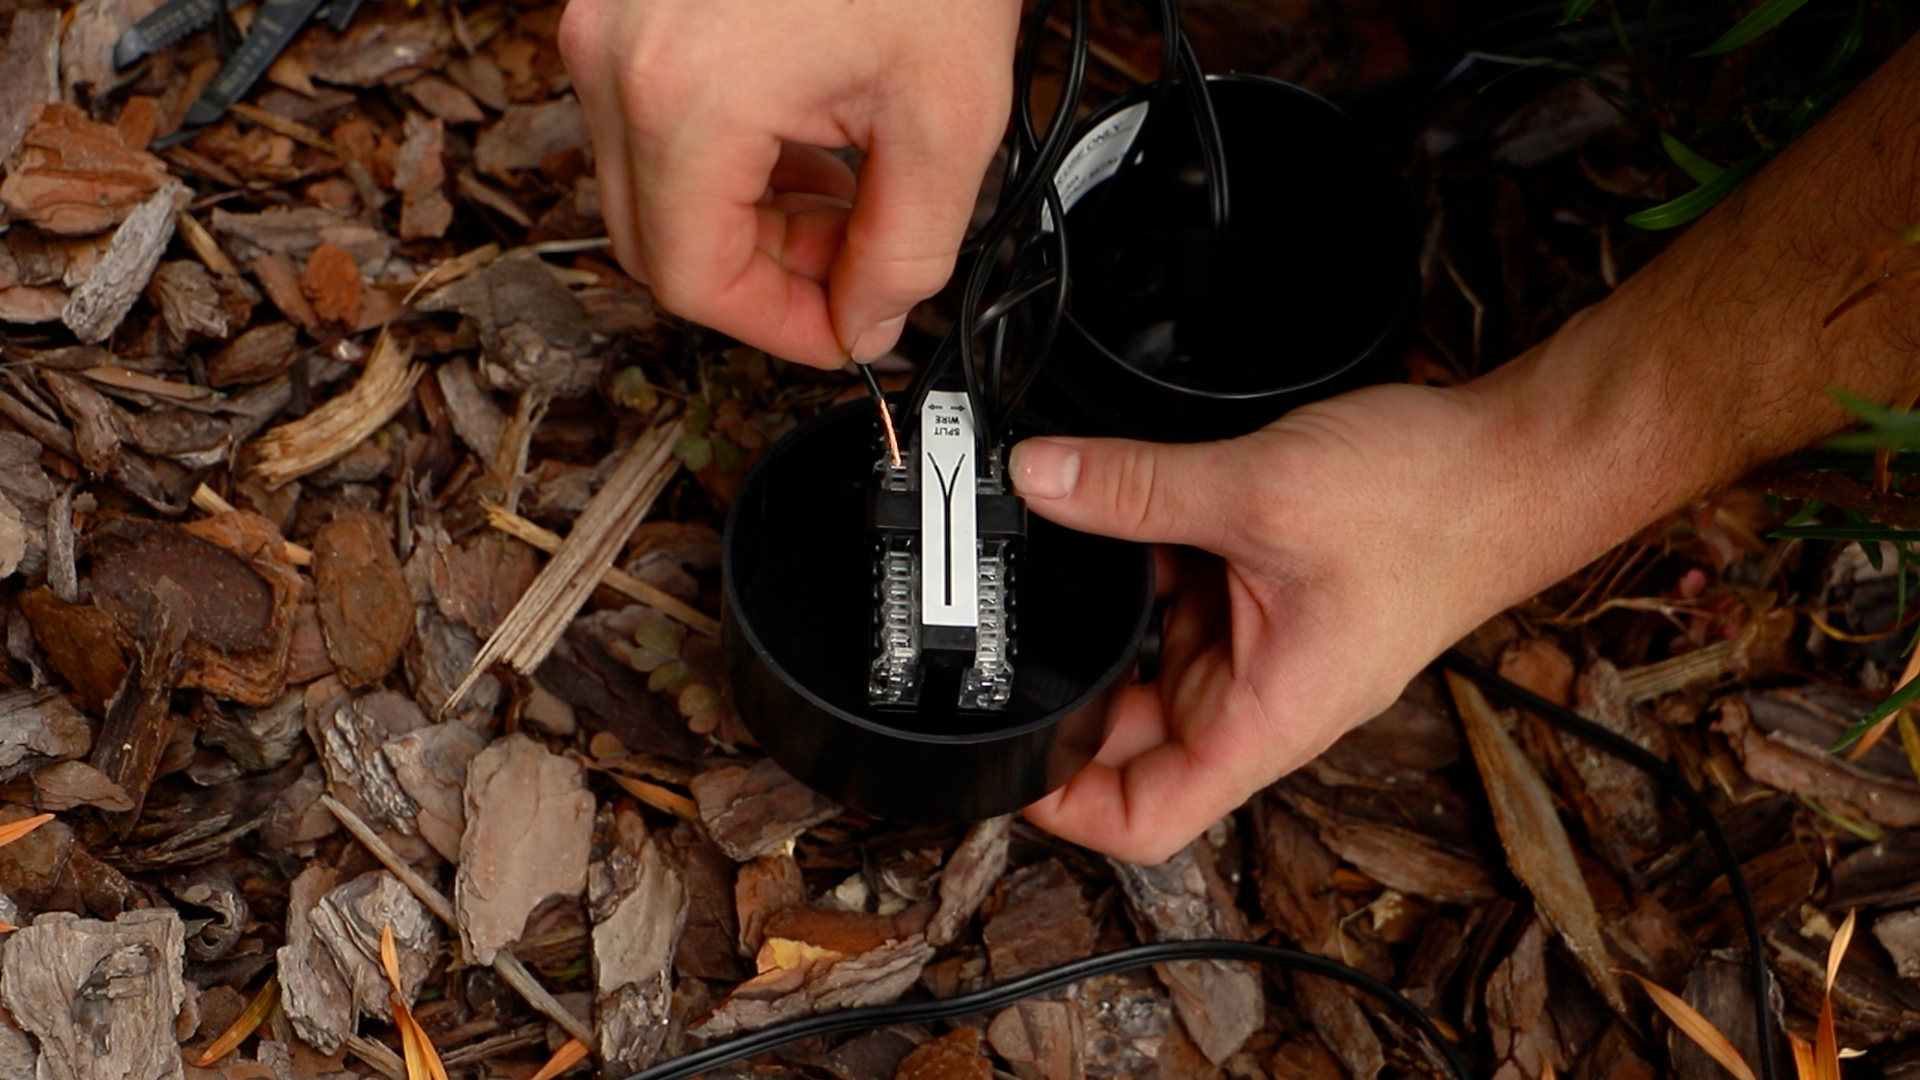
Step 6: Connect Fixtures to Hubs
Connect all of your fixtures in each area to one of the hubs by using the wire cutters to splice the lead wires from the fixtures and connect each side into the two sides of the hub. Low voltage wire has no polarity, so it doesn’t matter which side of the hub the wires go in as long as each end is on the opposite side of the hub bridge. Each fixture (both spotlights and path lights) has 25′ of lead wire at the end. If there is excess, use the wire cutters to cut the excess cable before connecting the fixture to the hub, leaving 1-2 feet of extra cable on the end to account for minor adjustments or small movements of the fixtures. Keep in mind that a maximum of seven fixtures can be connected to each of the hubs. The hubs each have eight terminals, but you will need one free terminal to run your main wire from each of the hubs back to the transformer.
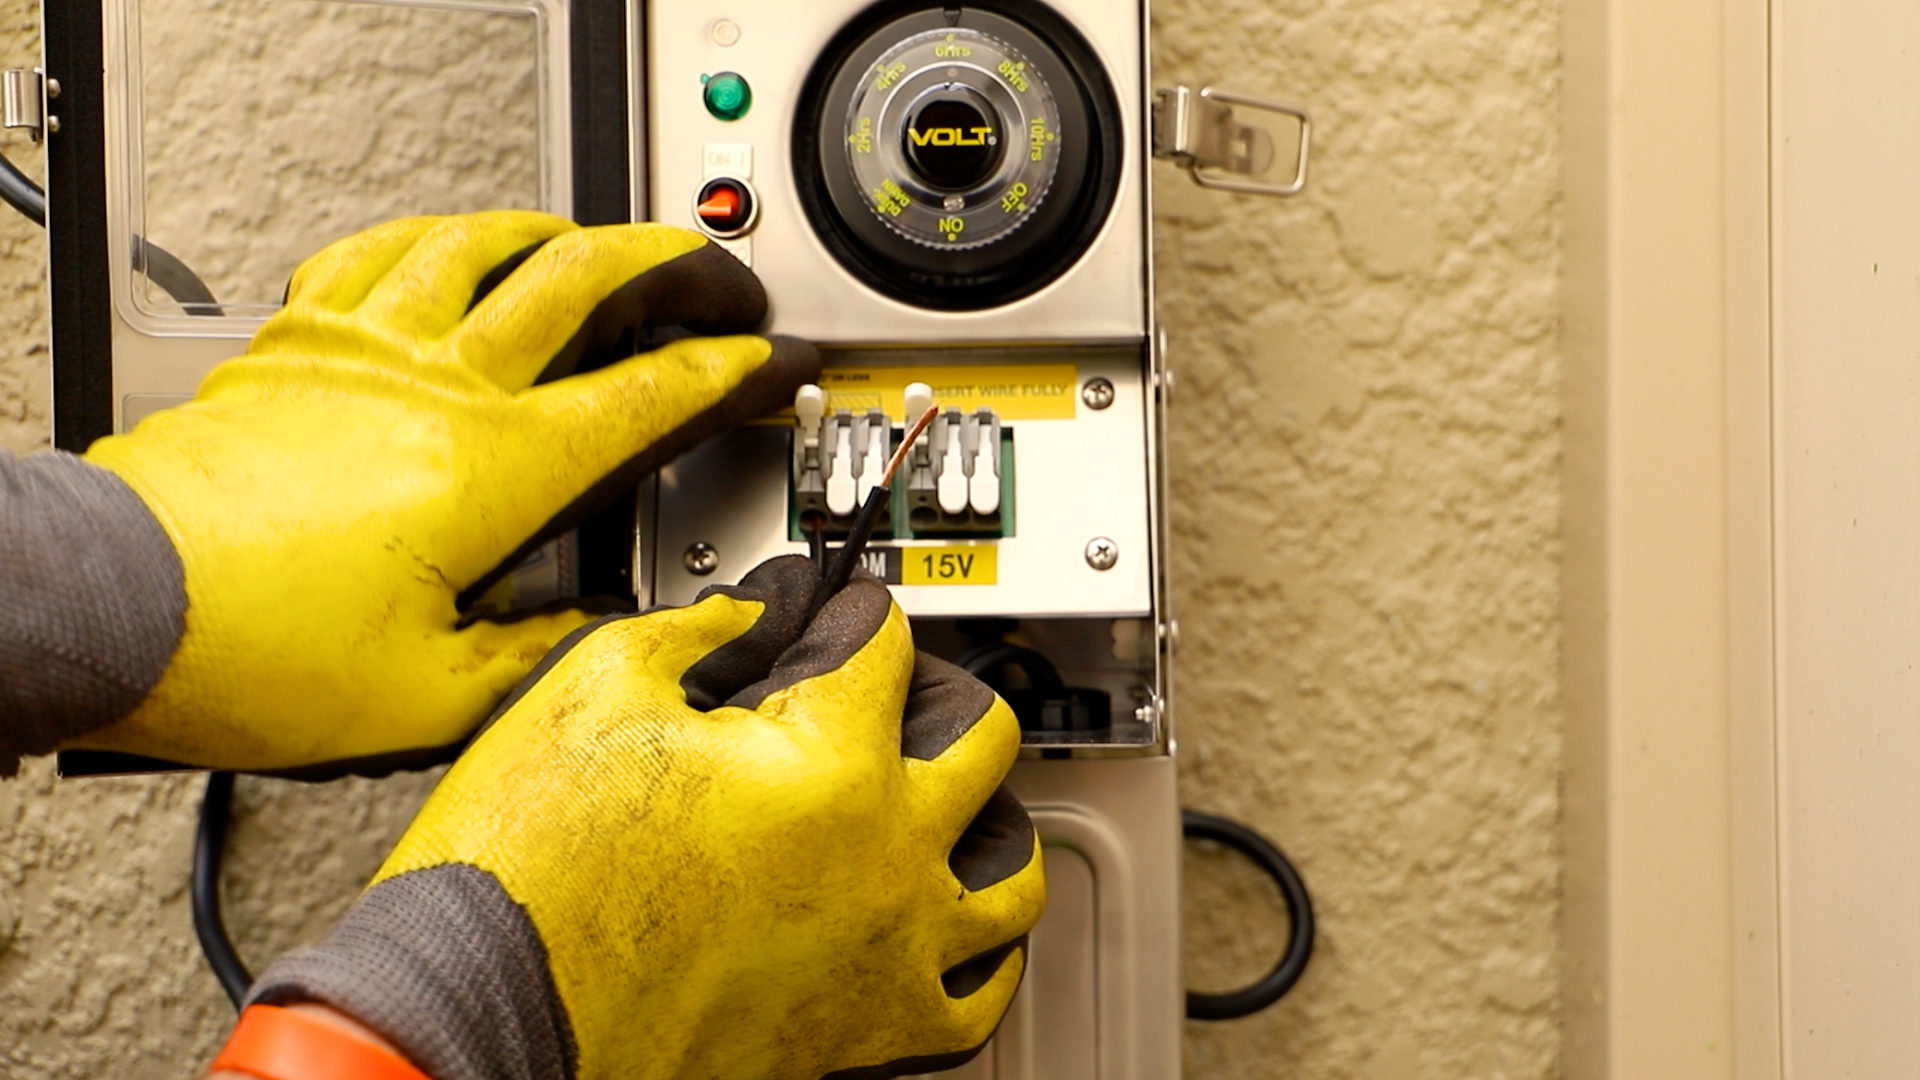
Step 7: Connect Hubs to the Transformer
Your “home run,” as we call it, is your main run from the transformer into the hub using the 14a gauge wire provided in the kit. One side of the home run wire will go into the “Com” terminal on your transformer, and the other side of the wire will go into the 12V or 15V terminal, depending on the transformer that you have. Once your home run is connected to the transformer, you can run your wire(s) to your hub(s) connecting into each side of the bridge, the same way the fixtures were connected.
Step 8: Test Your Connections
Once all of your fixtures are connected to the hub(s), and your hub(s) are connected to the transformer, it is time to test and make sure everything works before burying the wires. To test the fixtures, first make sure that your transformer is plugged into an electrical outlet. Then turn the photocell/timer combo to the “ON” position and flip the switch on your transformer from off to “ON.” When the timer and transformer are both set to “ON,” go around to all of your fixtures and make sure that they are working. If one is not working, first follow the wire from the fixture back to the hub and make sure that the connections are secure. If the fixture’s lead wire is secure in the hub, and all of the other fixtures connected to the hub are illuminated, you may want to change one of the bulbs out from a working fixture to the fixture that isn’t working. If needed, contact VOLT® customer support for troubleshooting tips.
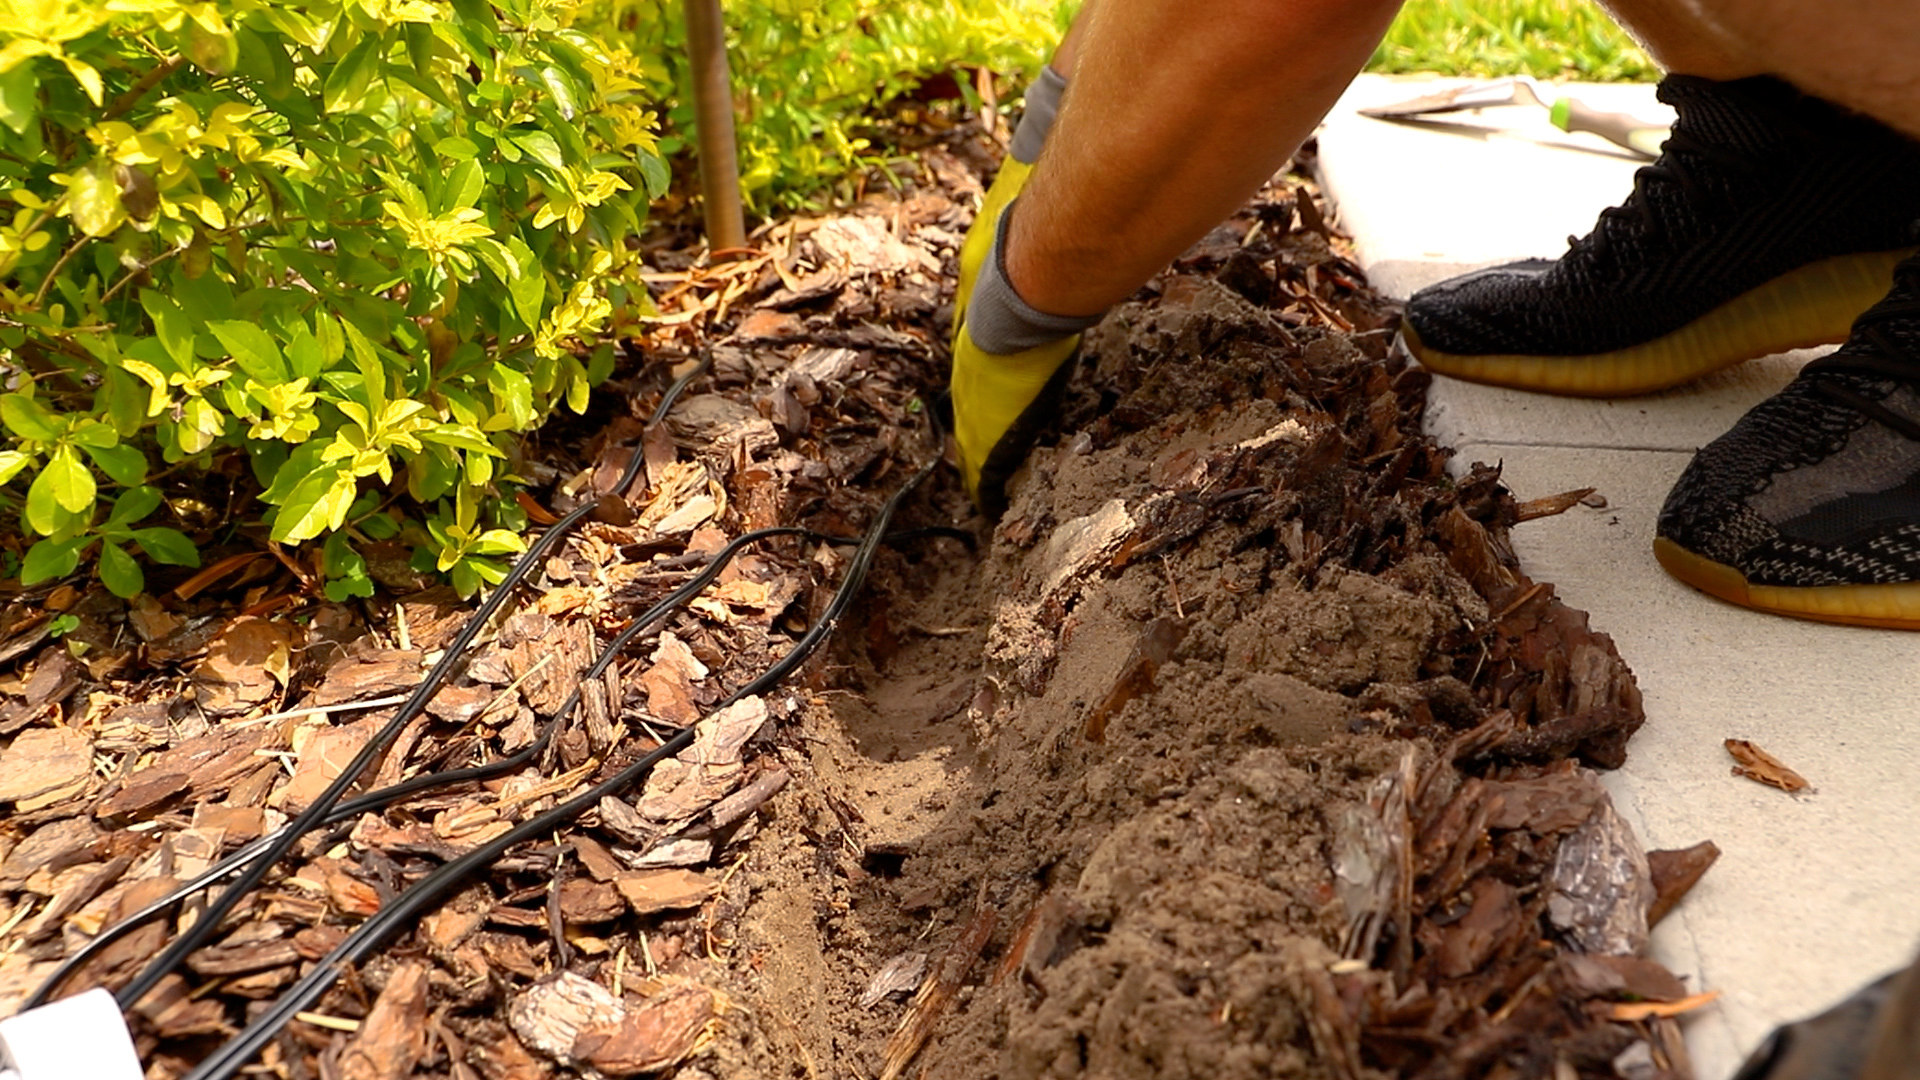
Step 9: Bury Cables
After you have tested the connections and verified that all the fixtures are properly connected and working, it is time to trench and bury your wires. We recommend burying the wires a minimum of 6 inches underground. A trenching shovel is often a helpful tool when digging to bury the wire.

Step 10: Nighttime Adjustments
When your landscape lighting system is fully installed, it is sometimes hard during the day to see the effect and position of the fixtures, so nighttime adjustments are important. With the spotlights provided in this kit, they feature an adjustable glare guard. The adjustable glare guard helps point and direct the light, so adjusting this may be something that you want to do. You can also adjust the pitch of the spotlight if it is pointed too far down or too high up. Another important tip when making nighttime adjustments is to re-adjust the photocell timer to your desired settings.

Enjoy
The final step is to sit back and enjoy the transformation that landscape lighting added to your home at night.