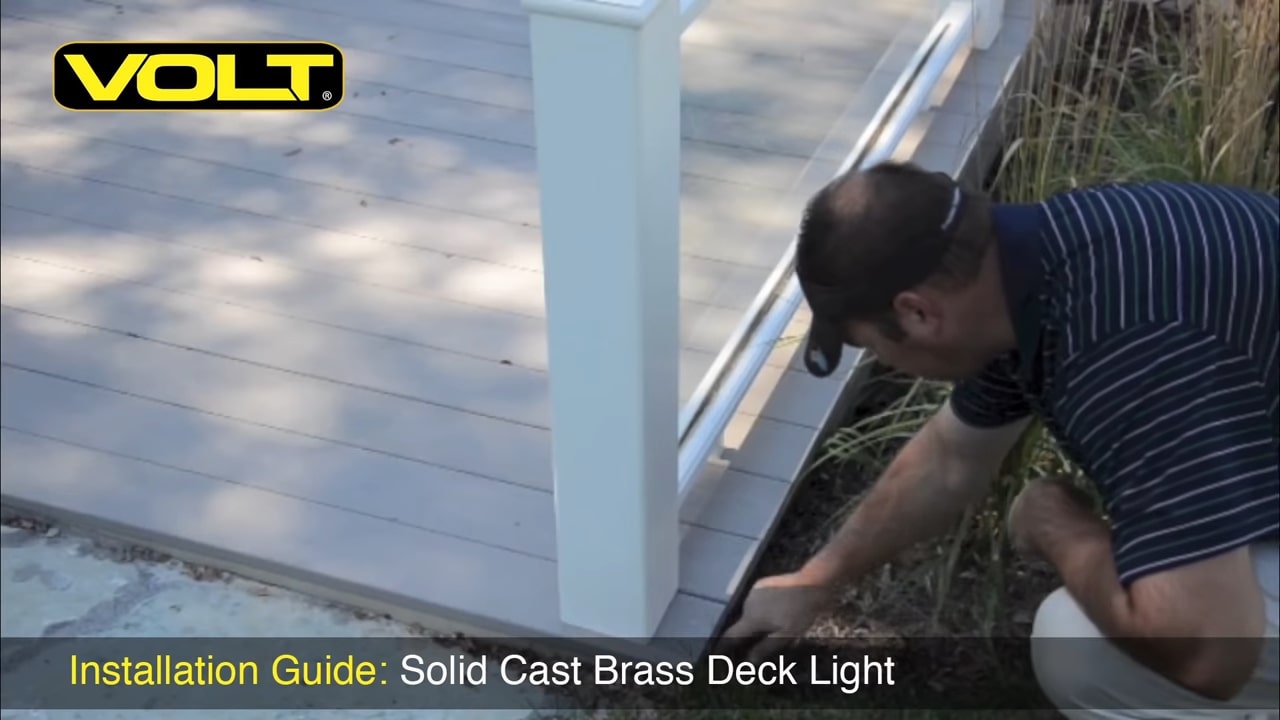
In this instructional video, learn how to install a VOLT® deck light on a post. We’ll run the wire down through the post and out the back, then mount the fixture cleanly. This is a fairly simple do-it-yourself project for illuminating your deck or dock.
Step-by-Step Instructions

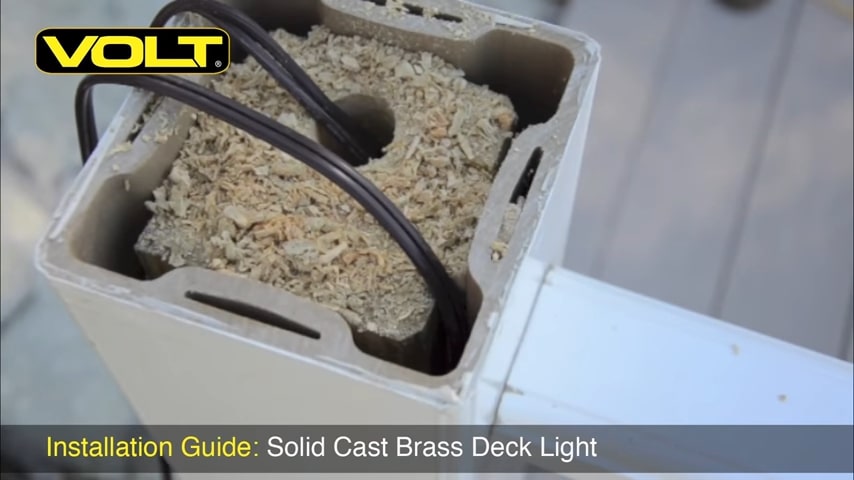
Step 1: Remove the cap from from the post. Once removed, you’ll see the slots for running the wire down the post.
Step 2: Before drilling into the post, determine where your connections will be located and how you’ll get the wire out of the post. You can use a coat hanger or a fiberglass wire pull rod, which can be found at any home supply store.

Step 3: Remove the screws from the railing bracket. This will free up the sleeve, making it much easier to access the wire.

Step 4: Mark the location of the hole you’ll be drilling. Remember that the wire exits from the bottom of the fixture, so keep that in mind when deciding exactly how high or low on the post you would like your fixture to be placed.
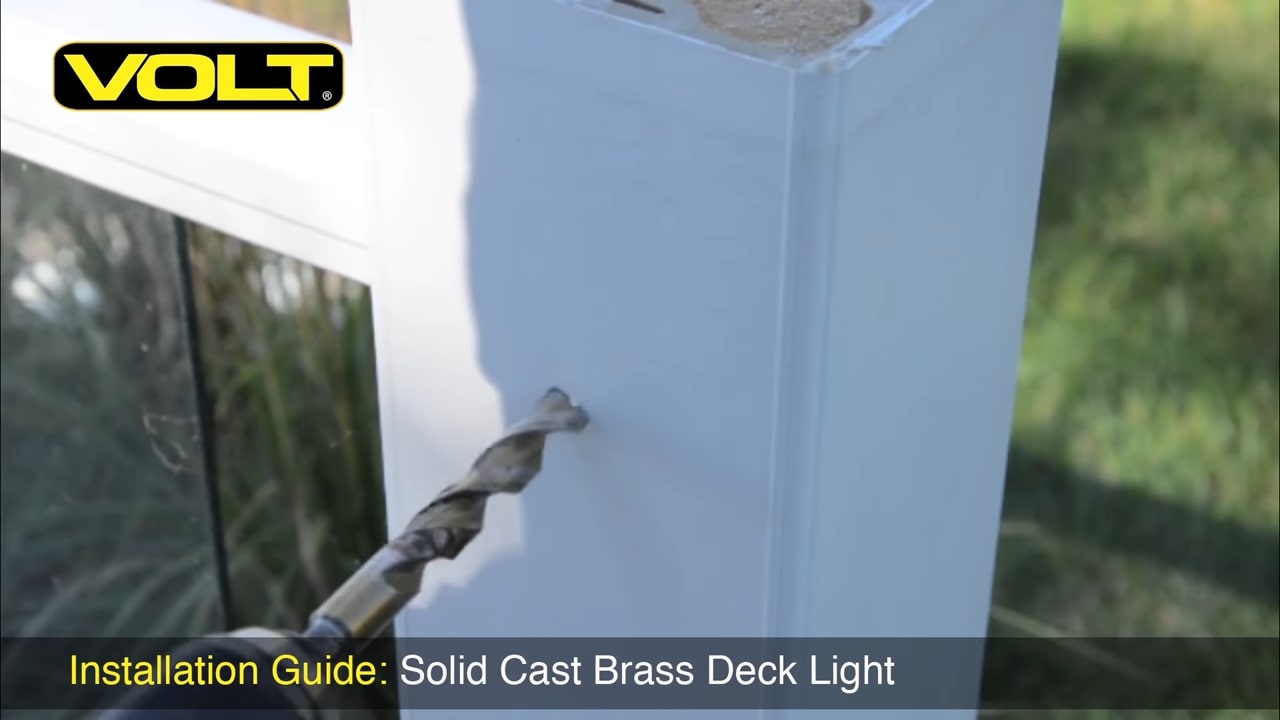
Step 5: Drill the wire entrance hole on the face of the post with a 1/2 inch machine bit. Once mounted, the fixture will cover this hole.

Step 6: Using a wood auger bit, start drilling down at a slight angle toward the hole you just opened up. This will core out an opening to join with the other entrance hole.
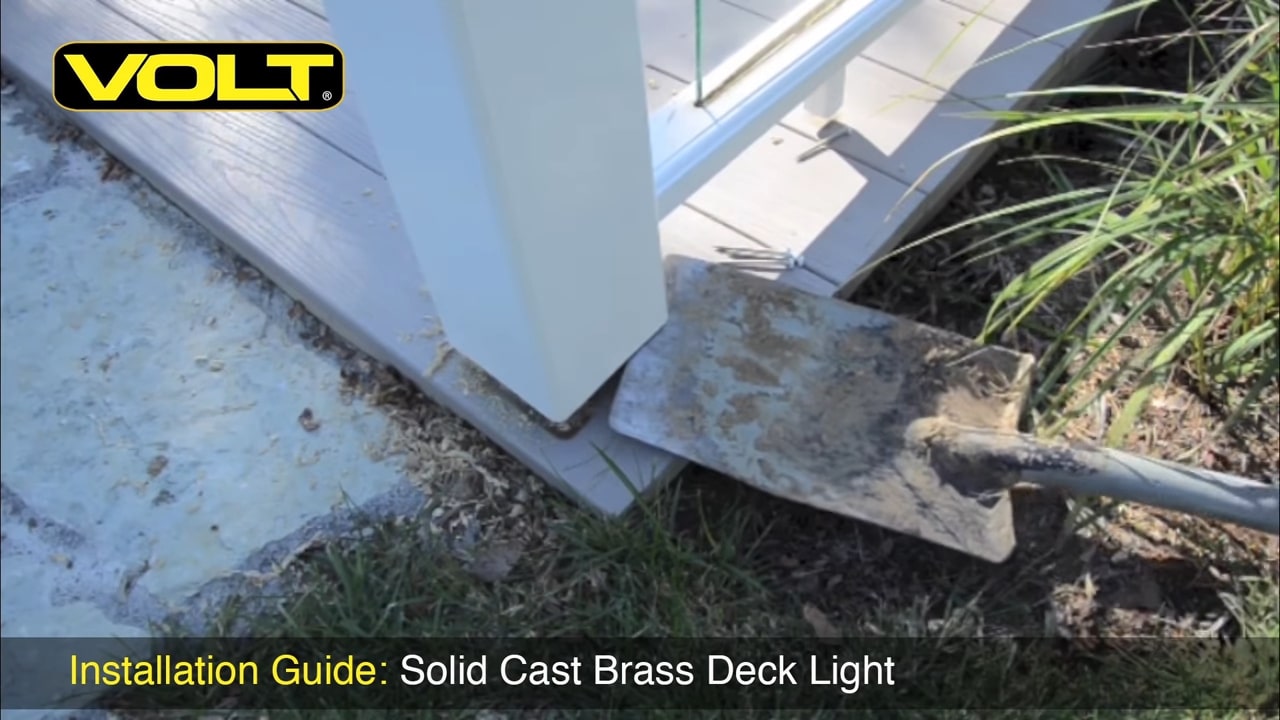
Step 7: Slip a shovel or a flat spade underneath the post and gently pry it upwards, exposing a 2 to 3 inch gap.

Step 8: Cut off a piece of wire about 10 feet long and begin feeding it down the post until you feel it hit the bottom. By lifting up the post and creating a 2 to 3 inch gap, we can easily pull the wire through.
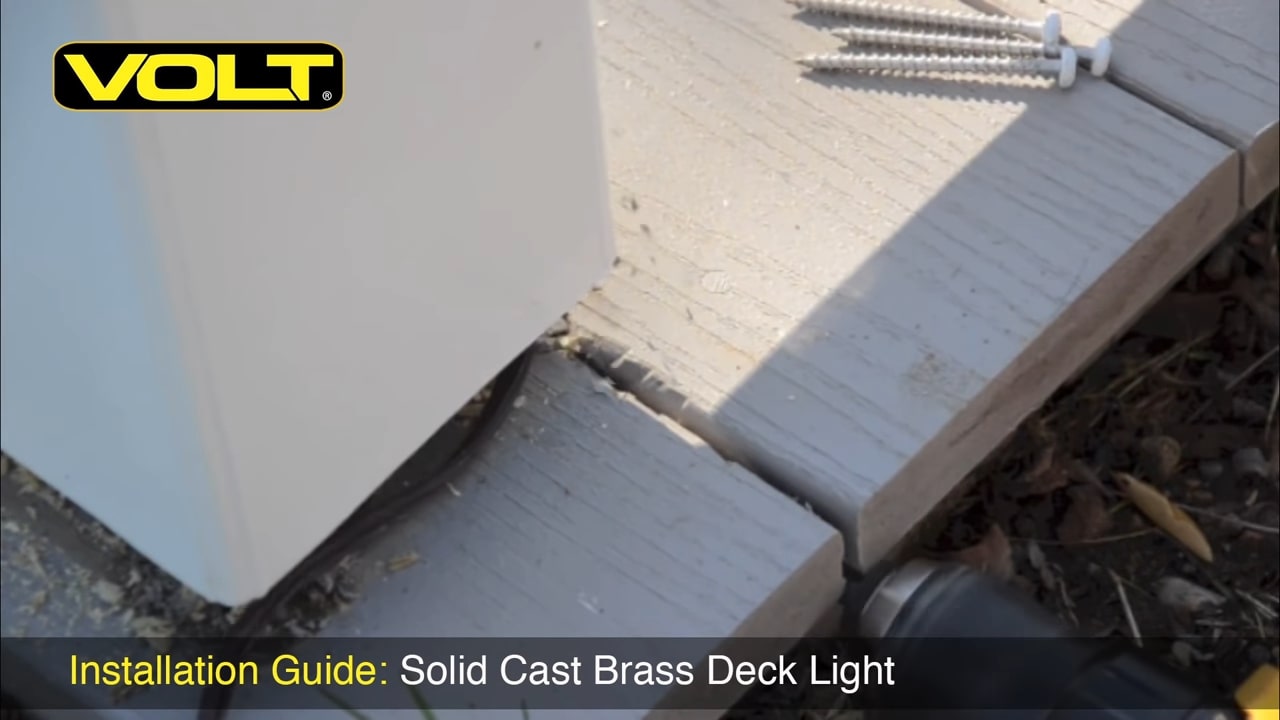
Step 9: Using a half-inch machine bit, drill a hole underneath the deck boards to create an access slot to run wire through. Put a slight bend in the end of the wire. This will help with guiding the wire back out the slot that was just drilled. After you get it through, make sure to pull out all the slack.

Step 10: Push the post down flush to the deck.

Step 11: Remove the faceplate from the deck light so it can be mounted to the post.

Step 12: Insert the end of the wire into the hole and feed it up through the post.
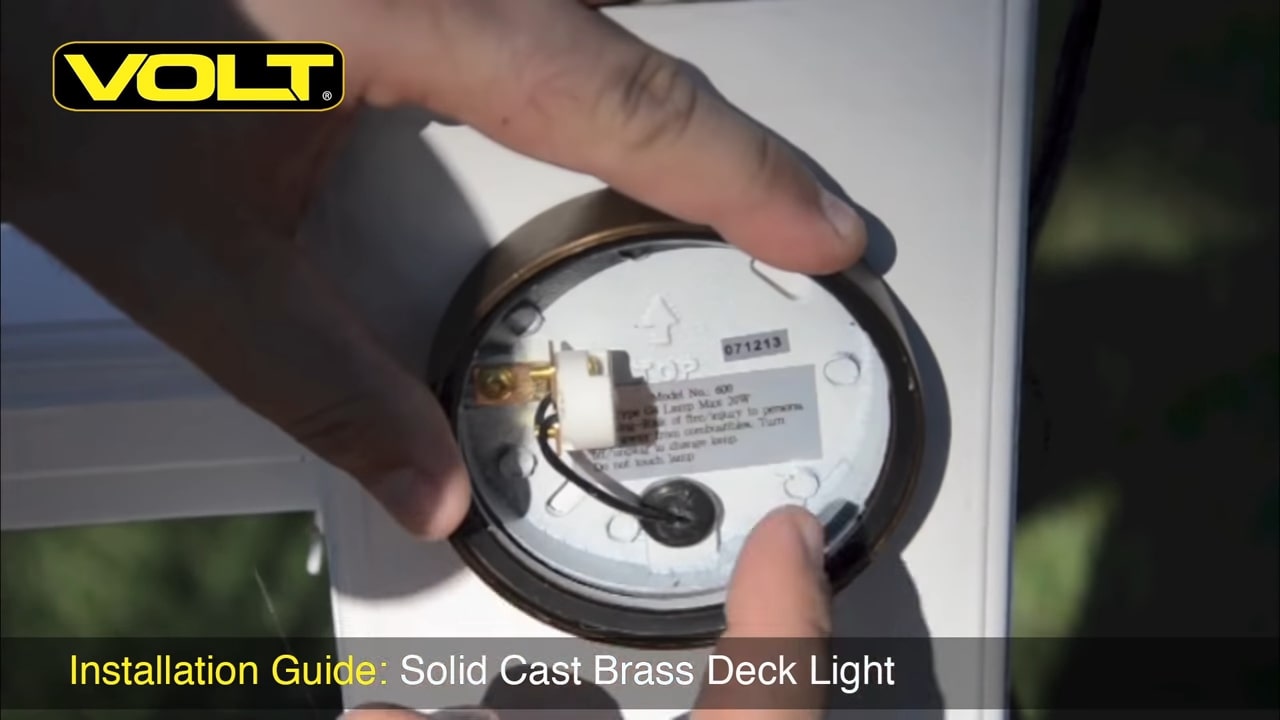
Step 13: Check the orientation of the deck light to make sure that the top is facing up.

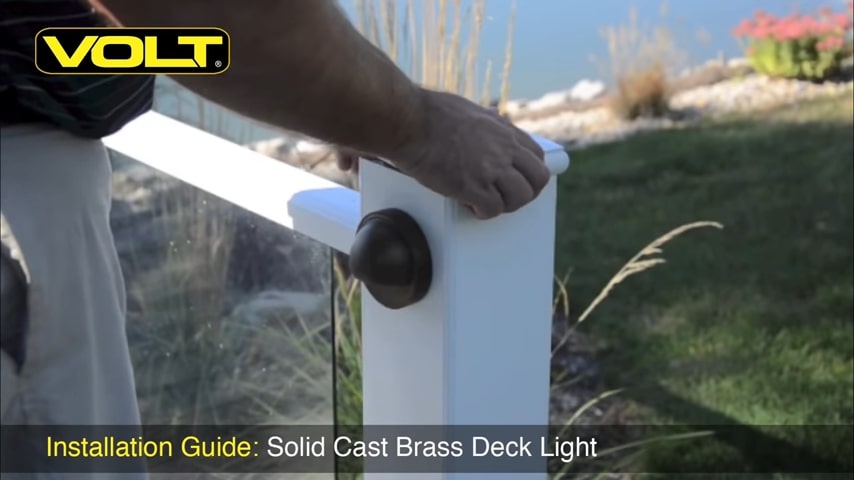
Step 14: Insert two screws to secure the deck light to the post.

Step 15: Install a halogen or LED lamp and put the faceplate back on the deck light.

Step 16: Reattach the railing bracket to the post, using the screws that were removed earlier.
Step 17: Make the wire connections in the top.
Step 18: Reinstall the cap on top of the post.